Getting Started Checklist
 7 Steps to Starting Your Shop
To get started with your new shop, you should first set up the basics. We recommend doing this BEFORE creating products. Start by going to your Shop Setting in the Seller Dashboard
> Click on the Shop Settings Tab
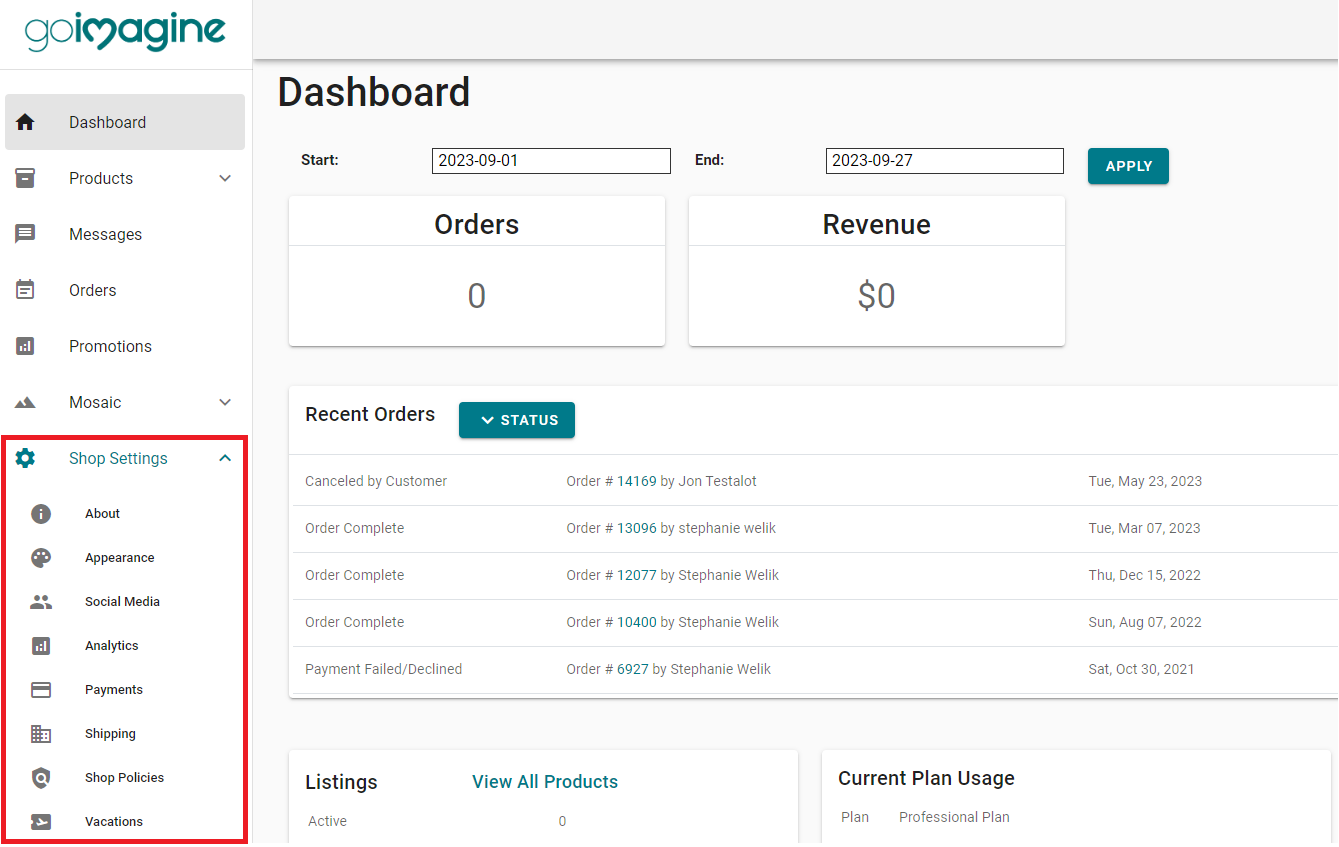
Shop Settings Tabs
Step 1: About
- Shop Name: This is where you can view and edit the name of your shop. Keep in mind your shop name will also be your goimagine URL. If your shop name is "Bob's House of Bows" your URL would be "goimagine.com/bobshouseofbows". Also, if someone else has the name you want you will need to choose a different name.
- Shop Tagline: This should be a short line about your shop. Think of taglines of other companies like Goldfish "The Snack that Smiles Back". So, if you sell hats your tagline might be "Festive top hats for any occasion!" or if you live in New Orleans and sell local-themed jewelry that tagline might be "Handmade Jewelry with a Bayou Flair"
- Shop Announcement: This is an OPTIONAL area where you can announce a sale or special deal in your shop. Something like "25% Sale for Easter"
- Email Address: This is where notification emails will be sent for your shop.
- Address: This is required to properly calculate tax and shipping rates.
- Maker Profile Picture: This is a picture of YOU. It can be a nice headshot, it could be an "action shot" of you making your items or can show you wearing one of your products.


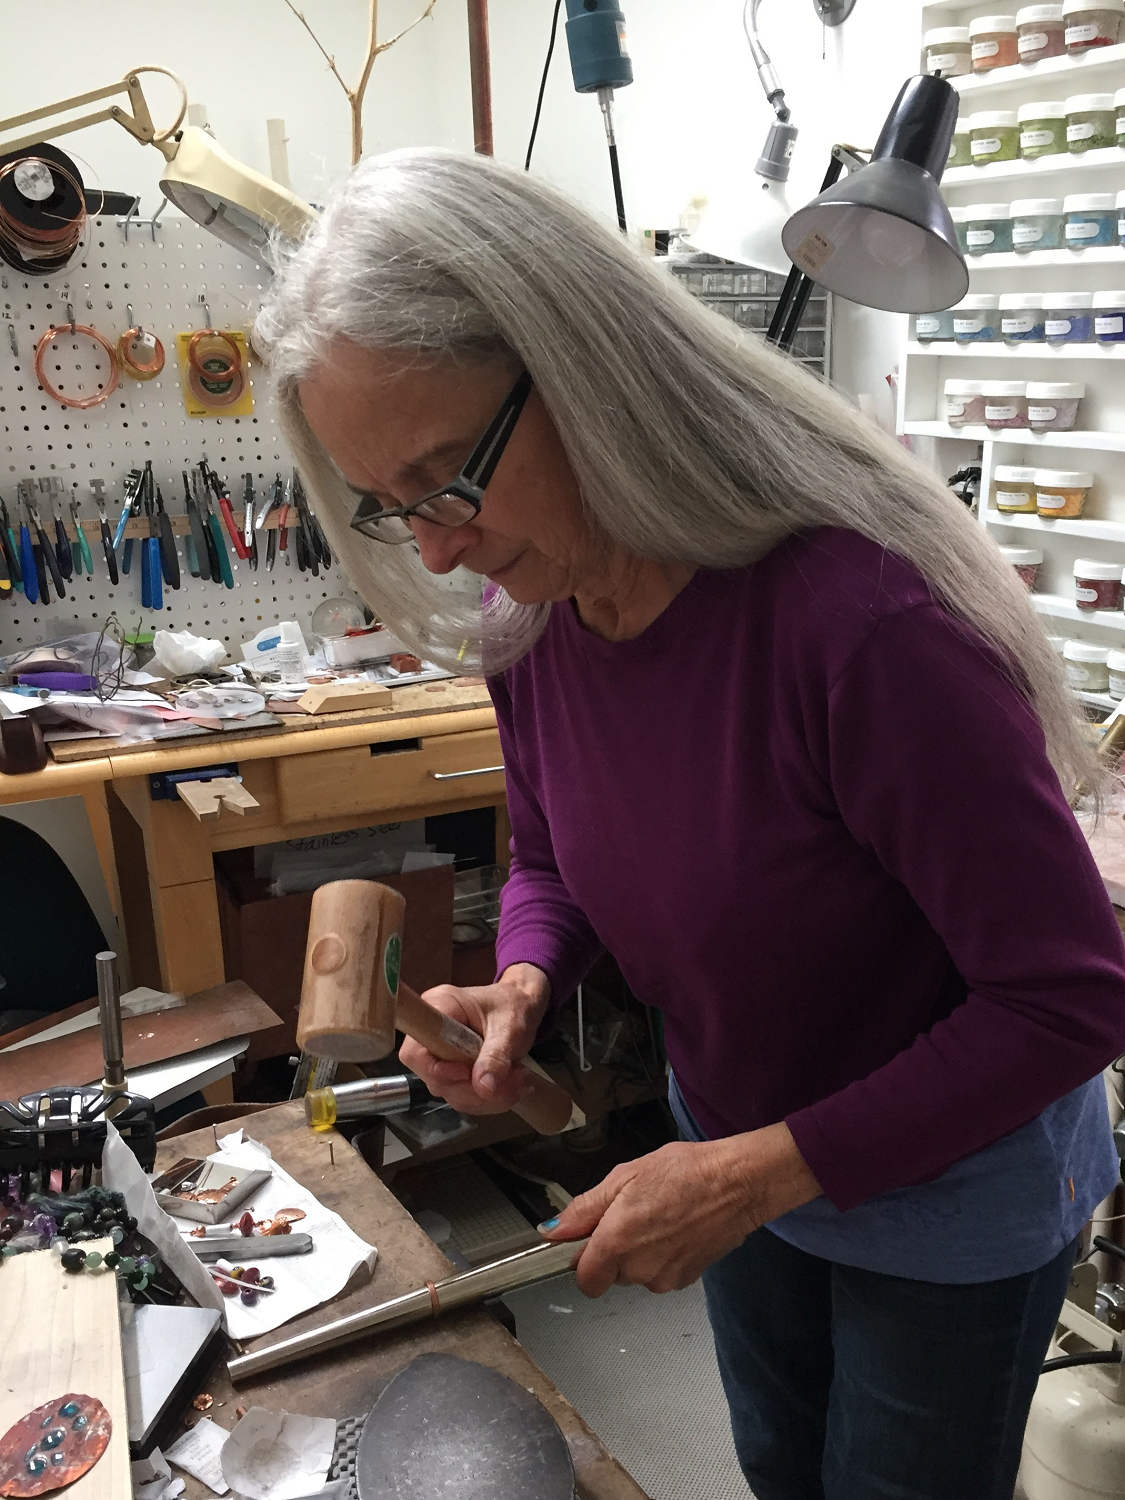
- Maker Profile: Here's where you can tell your story! Handmade buyers want to know who is making their items. So this is your time to shine! Tell them where you are from, the experience you have in what you make, why you make what you do...you can even get a little personal about your hobbies or family. The more a buyer gets to know you the more connected they will feel to the products you make!
Step 2: Appearance
- Upload Shop Banner - Recommended Size 3000 x 728 pixels. (http://help.goimagine.com/articles/52059-image-size-guidelines)

- Upload your Logo for Shop - Recommended size 400 x 250 pixels.
- Upload your Logo for the Shop Invoice - Recommended size 400 x 250 pixels
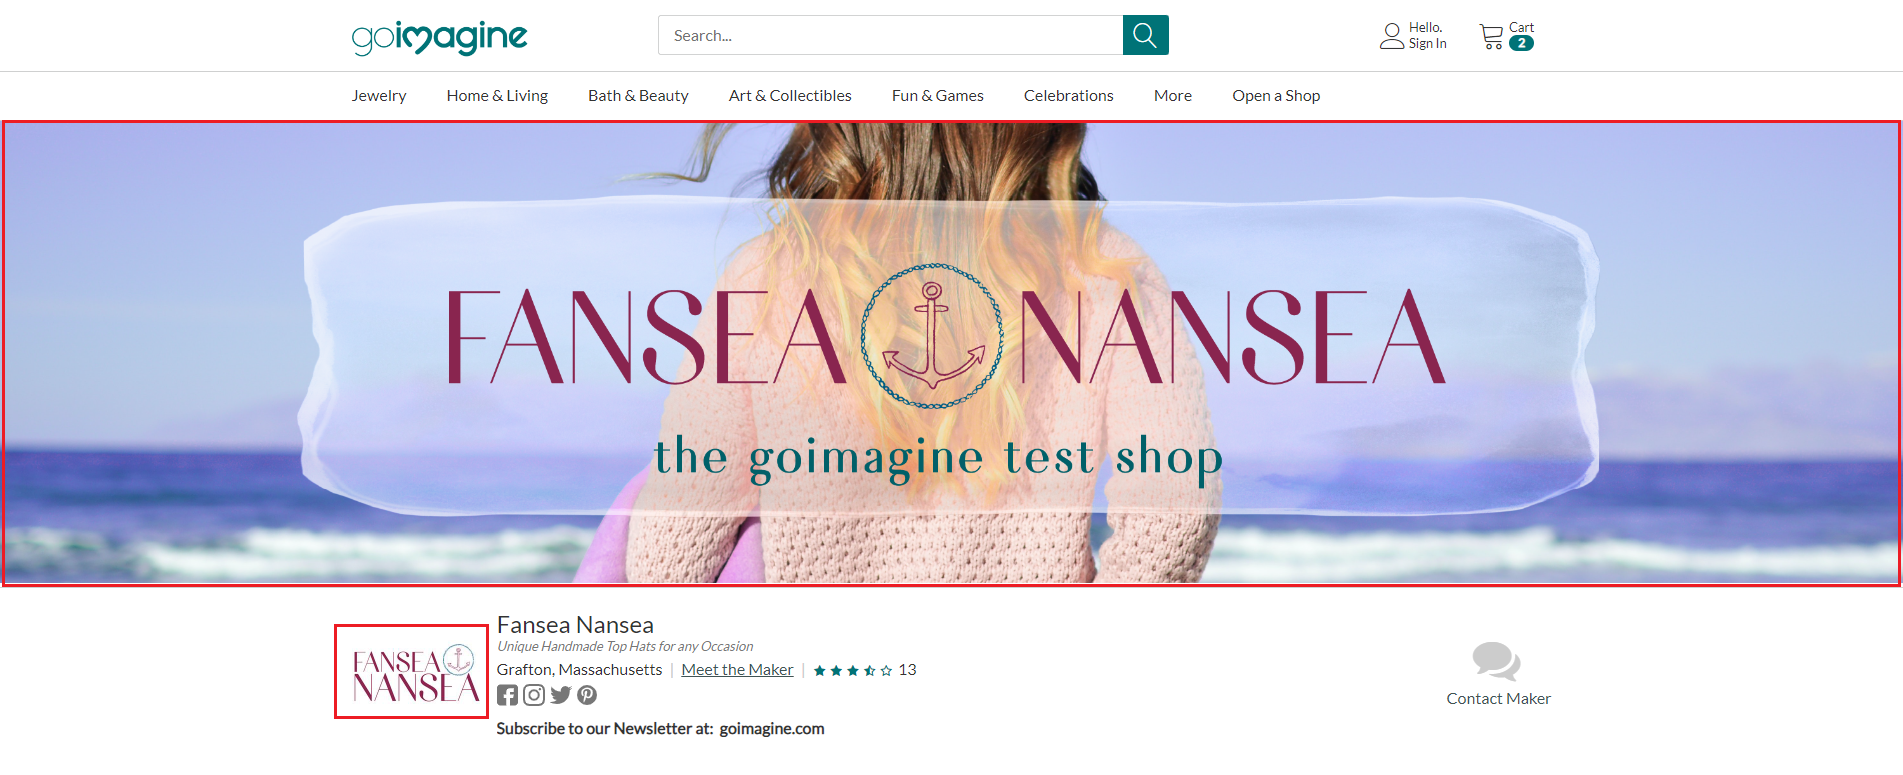
The Banner and Logo will look like the below in your shop:
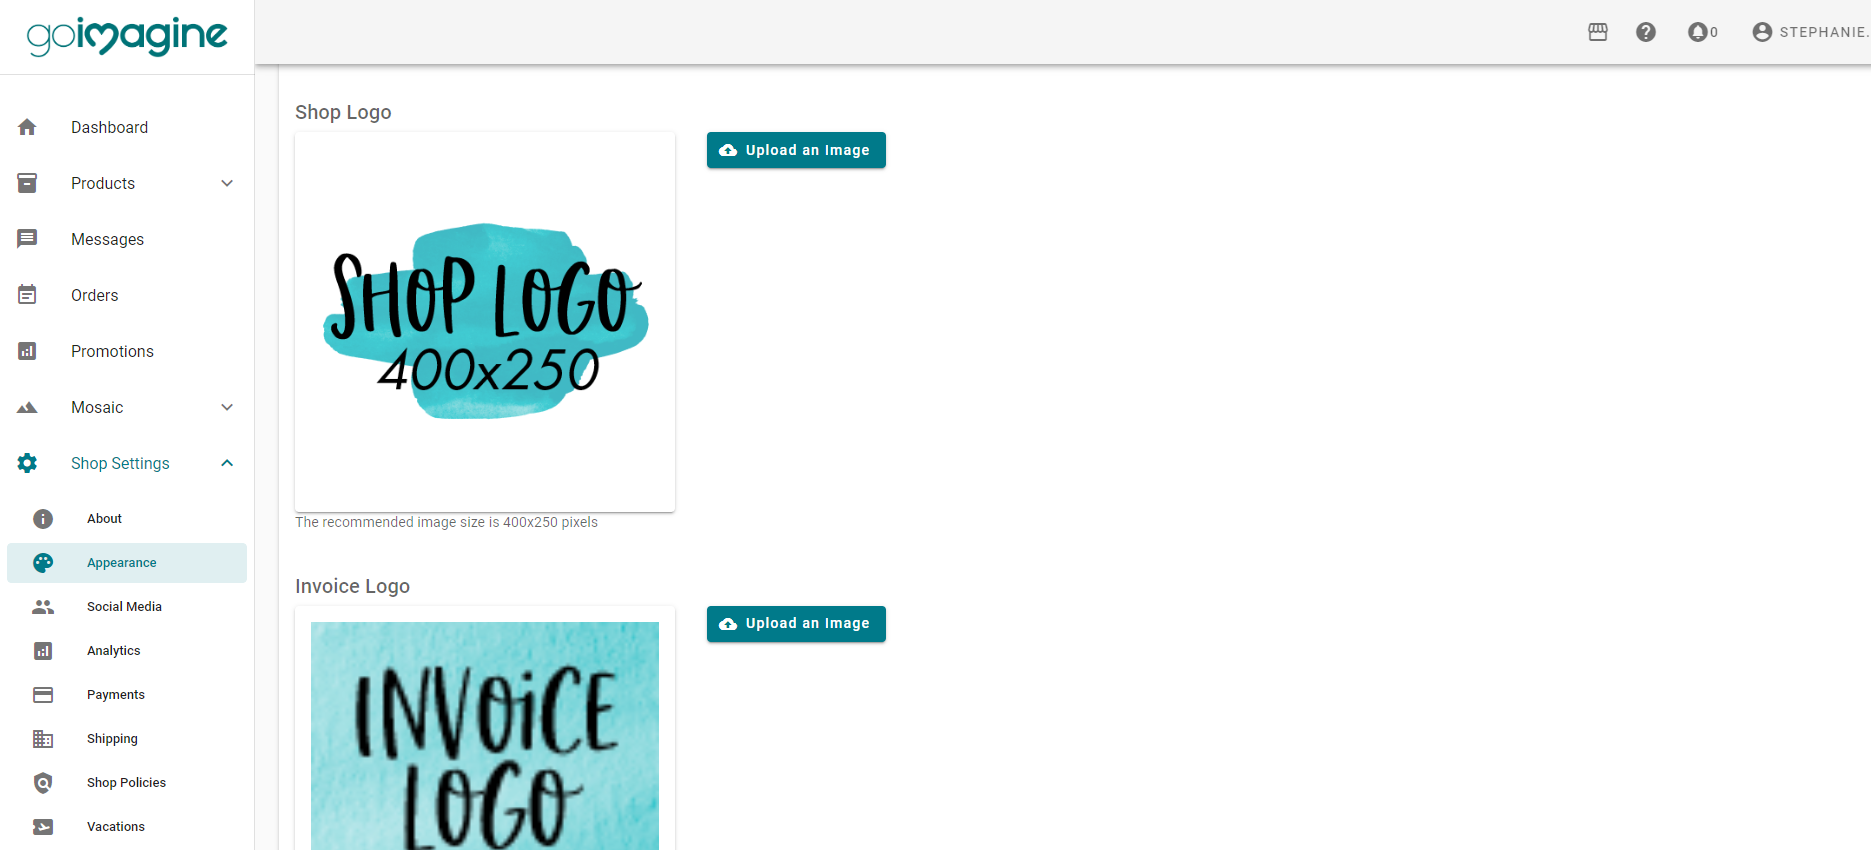
You can update your shop images in the "Appearance" section of your seller dashboard:
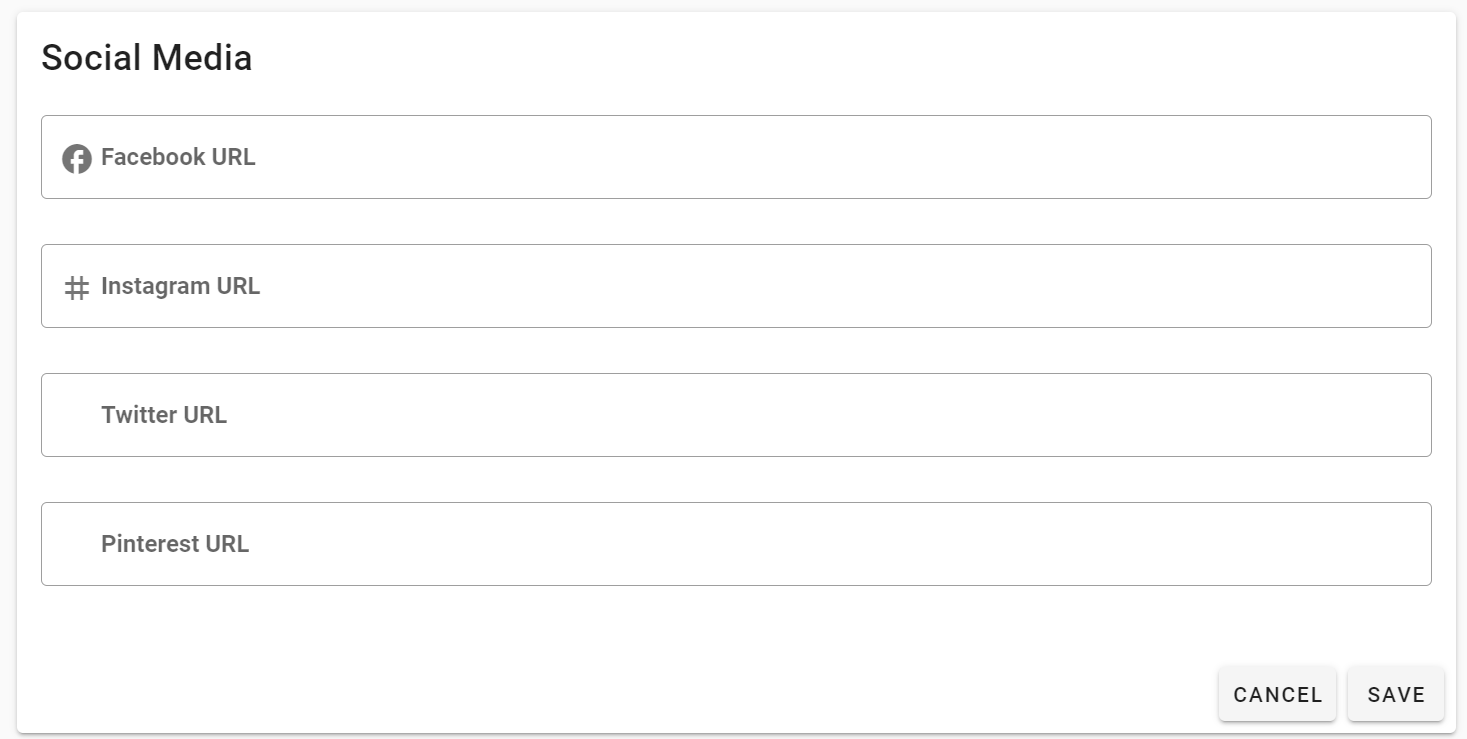
Step 3: Social Media
Enter the full URL of Social Media links so your customers can follow you! Be sure to enter the full link and not just your username. For example: https://www.instagram.com/goimagine.life
Step 4: Payments
This might be the MOST important thing! Make sure to connect your Stripe Account so that you can get paid! Follow the instructions to connect Stripe here: http://help.goimagine.com/articles/51318-connecting-to-stripe
Step 5: SMS Text Alert
If you would like to receive text messages when new orders come in, you will need to enter your mobile phone number and consent to receiving text messages.
See how here: https://help.goimagine.com/articles/121029-receive-text-sms-order-alerts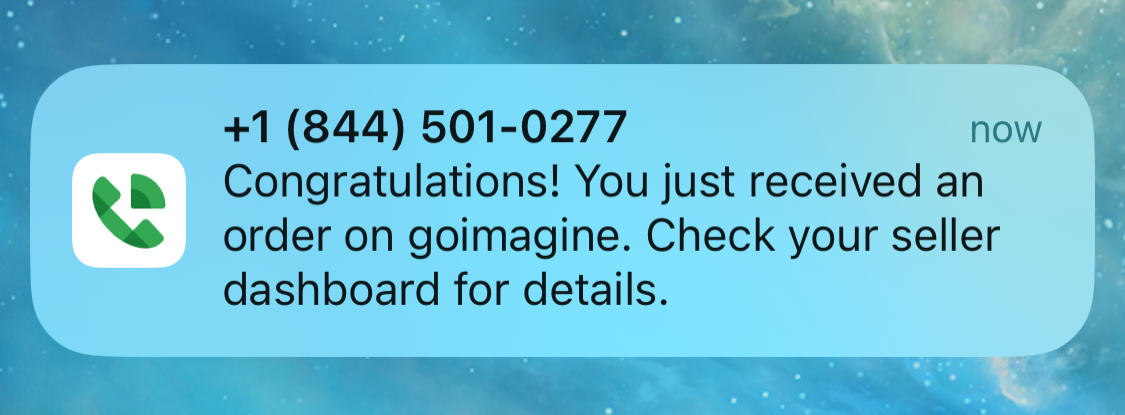
Step 6: Shipping
Your shop automatically has Real-Time USPS Ground Advantage and Priority Shipping set up, so most sellers don't need to do anything to set up their shipping. The only thing you need to do is enter the weight of your products when creating product listings. This will ensure the proper shipping rate is calculated and charged to the customer.
If you would like to create custom shipping methods like a Flat Rate or Tiered Rate shipping based on price, quantity or weight, you can learn more about setting custom shipping methods here: https://help.goimagine.com/categories/12972-shipping
Step 7: Shop Policies
This is where you enter your terms and conditions. Do you accept returns? If so, what are the stipulations? How long does it take to process orders? Are there any special care instructions? Is there anything else the buyer should know when purchasing your products?
Things to consider:
- Processing Time: Make sure to let the buyer know how long it will take for the product to be shipped. For instance, if it takes you 3-5 Days to create the product before it's shipping be sure to let them know.
- Return Policy: Do you accept returns? If so, how long does the buyer have to return the product?
- Care Instructions: If you are selling something that needs to be routinely cleaned or cared for, are there instructions the buyer should know?
- FAQ's: Is there any questions your buyers often ask? If so, get ahead by answering frequently asked questions on your terms.
Now that you have the basics completed for your shop, it's time to consider the following:
- ETSY PRODUCTS IMPORT - https://help.goimagine.com/articles/52204-etsy-import
- ETSY REVIEWS IMPORT - https://goimagine.com/etsy-review-import/
- CREATE CUSTOM SHOP CATEGORIES -http://help.goimagine.com/articles/64557-custom-shop-categories
- START ADDING PRODUCTS - http://help.goimagine.com/categories/12971-products
- SET YOUR FEATURED PRODUCTS: http://help.goimagine.com/articles/64830-featured-products
Then, customize your private website with MOSAIC!
- If you are a MOSAIC Plan Member, you can now get started with your own website here: https://help.goimagine.com/articles/72850-mosaic-setup-checklist
Learn more about MOSAIC: https://www.goimagine.com/mosaic/
If you have any questions or need help getting set up please don't be a stranger. Email us with questions at support@goimagine.com

