MOSAIC Setup Checklist
Before getting started with your MOSAIC Shop we highly recommend going through the "Getting Started Checklist" here: https://help.goimagine.com/articles/62467-getting-started-checklist
After you have set up the basics of your shop below are items you should consider doing to get your MOSAIC Shop setup to your liking:
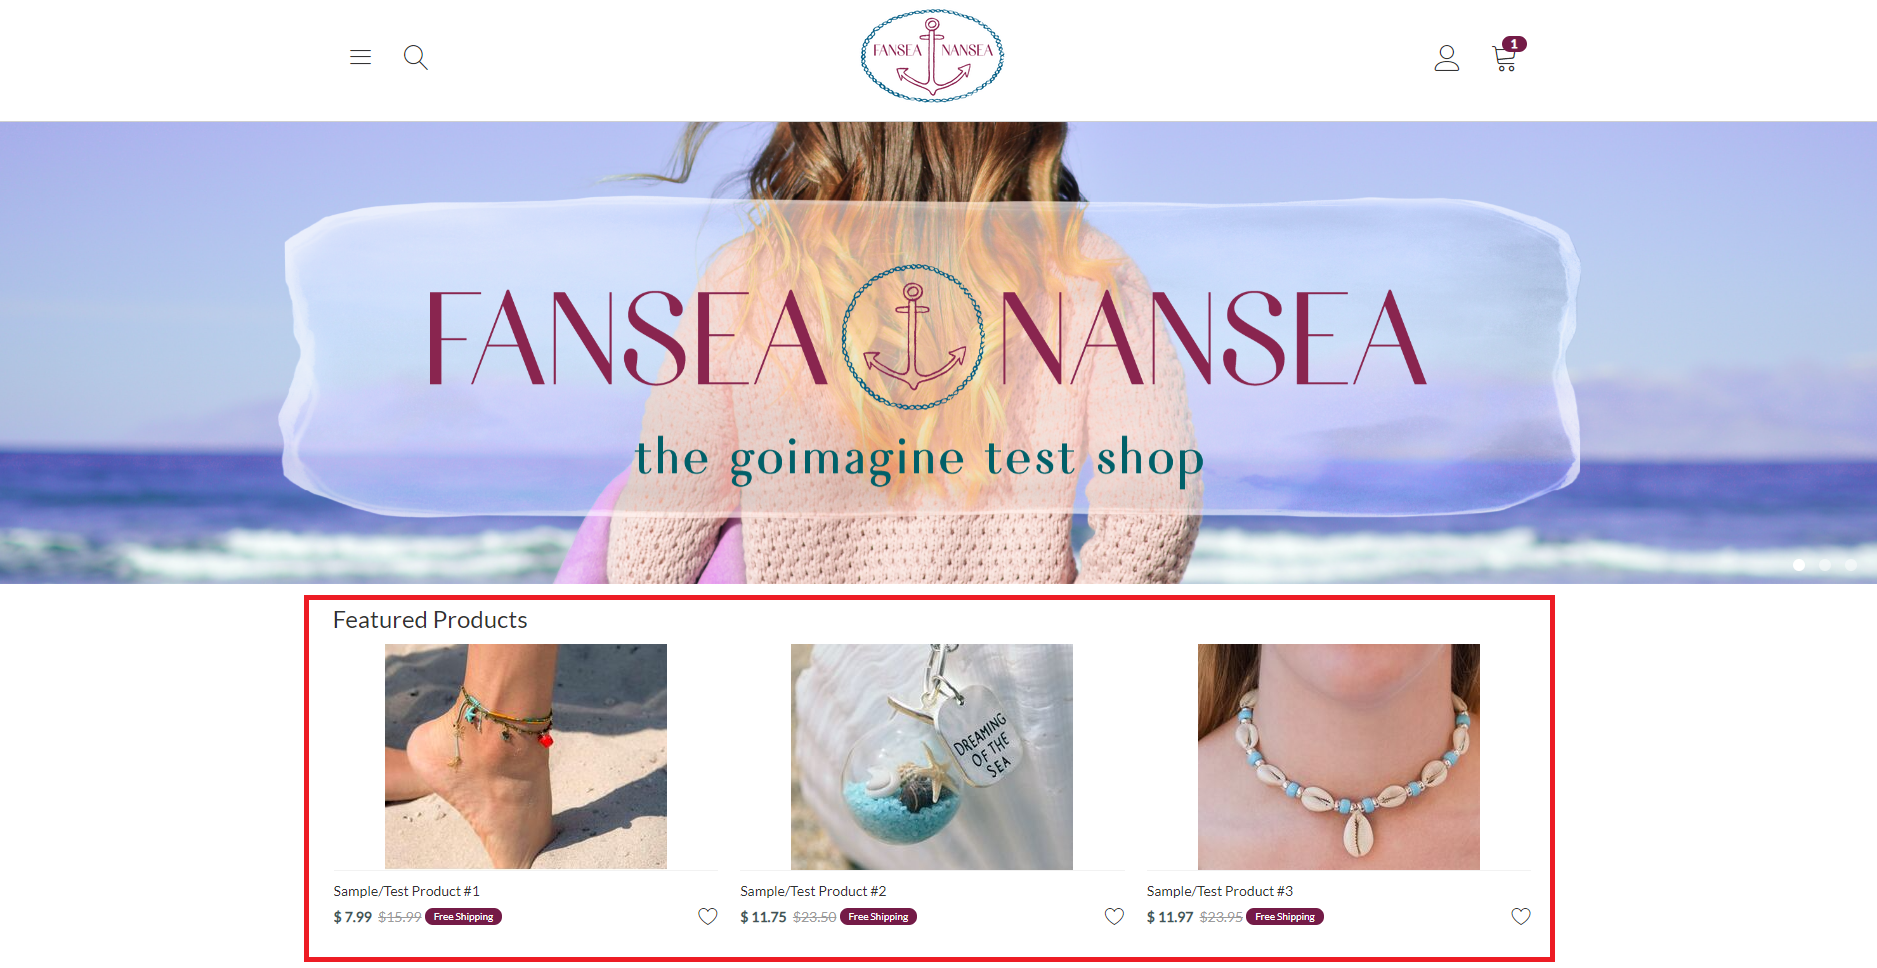
1) Set your Featured Products for your MOSAIC homepage.
The featured products allow you to curate your homepage to highlight a set of products you want your buyers to see first. Some sellers change the featured products on a frequent basis to highlight different seasons/holidays (i.e. Thanksgiving product in the fall or 4th of July product in the Summer) while other makers "set it and forget it" by showing their bestselling products on their homepage. We recommend setting 6 or 12 Featured products since those multiples look best on Desktop and Mobile.
Learn how to set Featured Products here: https://help.goimagine.com/articles/64830-featured-products
2) Set up your Custom Shop Categories and assign products to them.
This will give your customers the ability to select and browse products throughout your catalog. They can access it through the hamburger menu in the top left corner of your site. Learn how to setup Custom Shop Categories.
See the Help Article for Shop Categories here: https://help.goimagine.com/articles/64557-custom-shop-categories
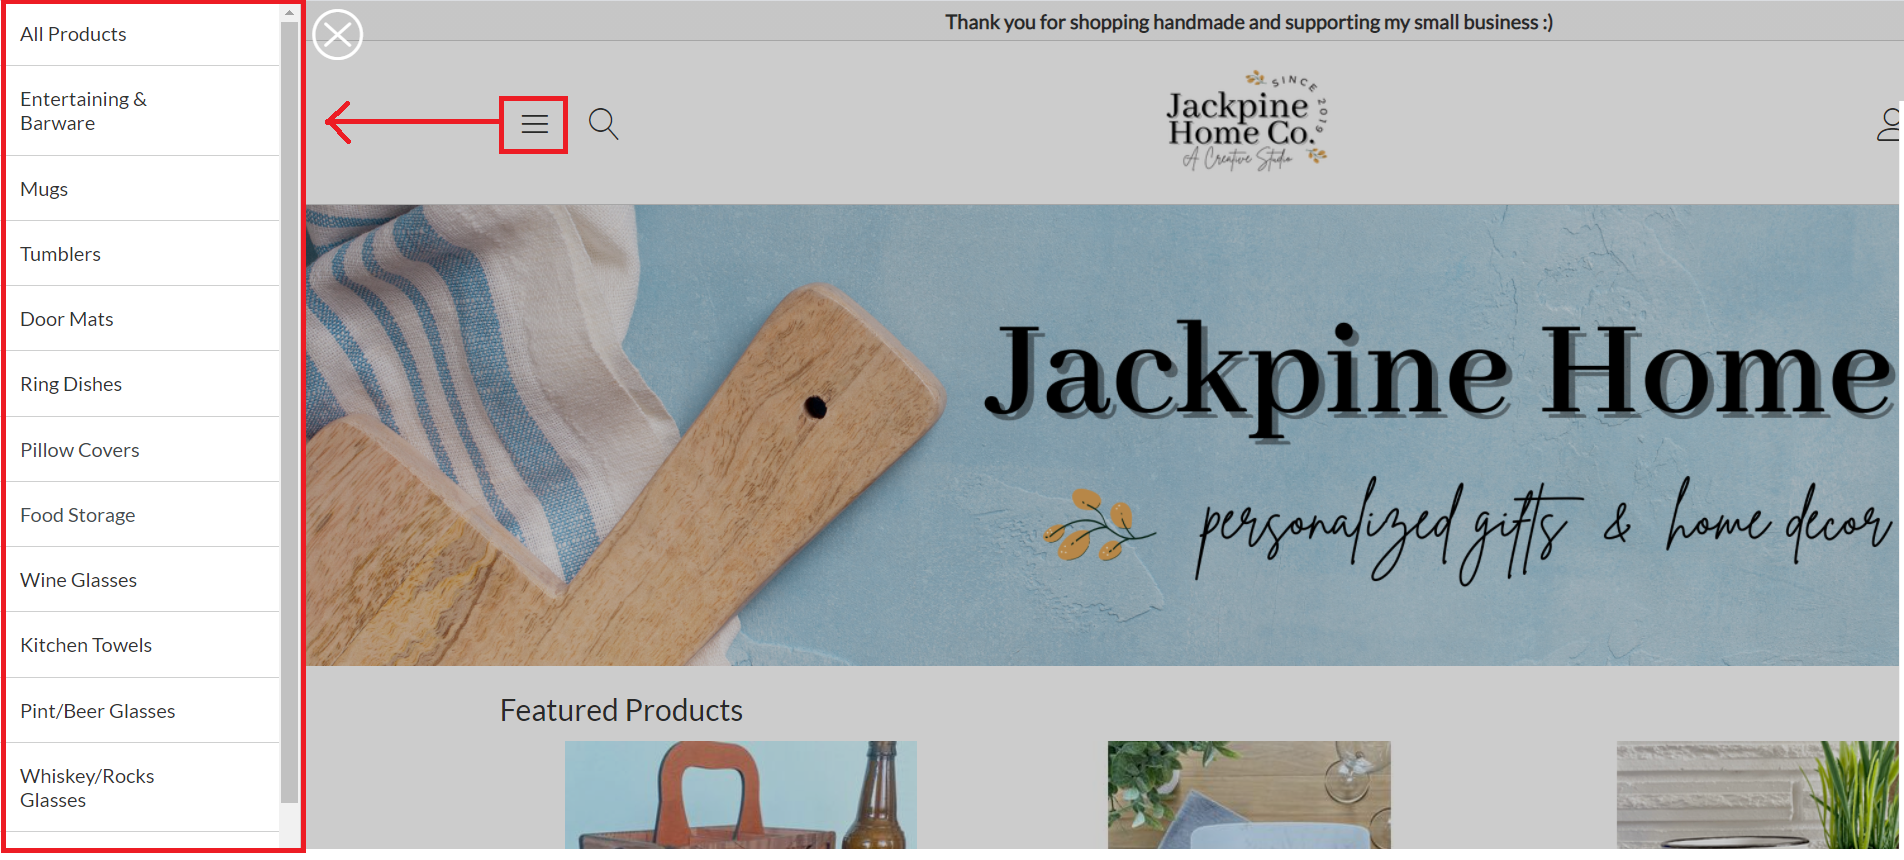
**The hamburger menu is the default view for your shop categories. If you prefer, you can also display your categories horizontally above your main banner. Navigate to your MOSAIC settings and choose "Horizontal" from the Menu Style drop down.
3) Create Custom Banners
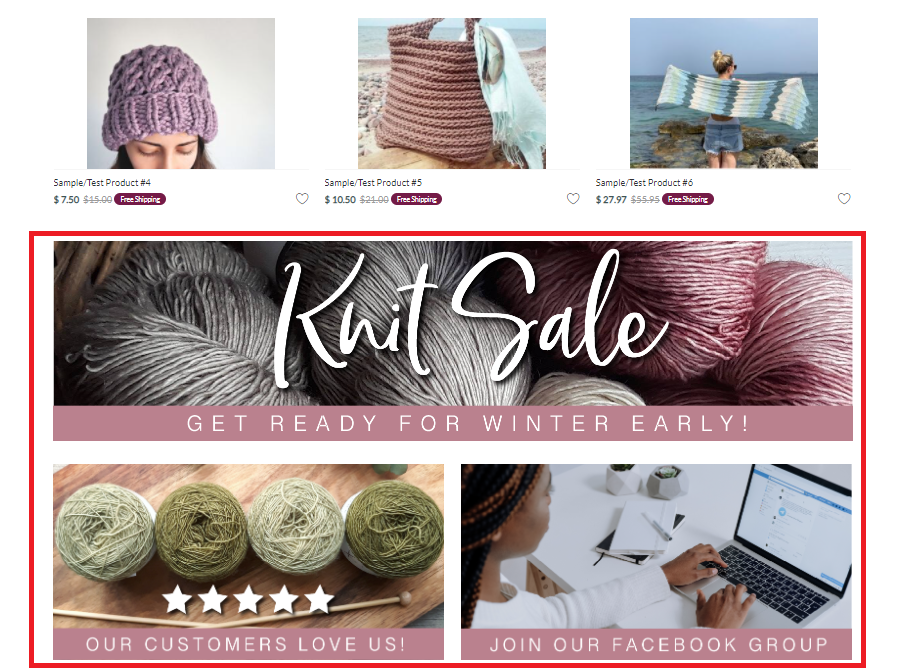
Your goimagine banner will automatically default to your MOSAIC shop's banner, but if you would like to add additional banners such as a "carousel slideshow" on the top, update mobile size primary banners or do promo banners under the featured products you can do so for MOSAIC. You also have the ability to create smaller promotional banners that are shown further down your homepage.
Learn more about MOSAIC Custom Banners here: https://help.goimagine.com/articles/72421-mosaic-custom-banners
4) Set your MOSAIC Theme Color to match your brand.
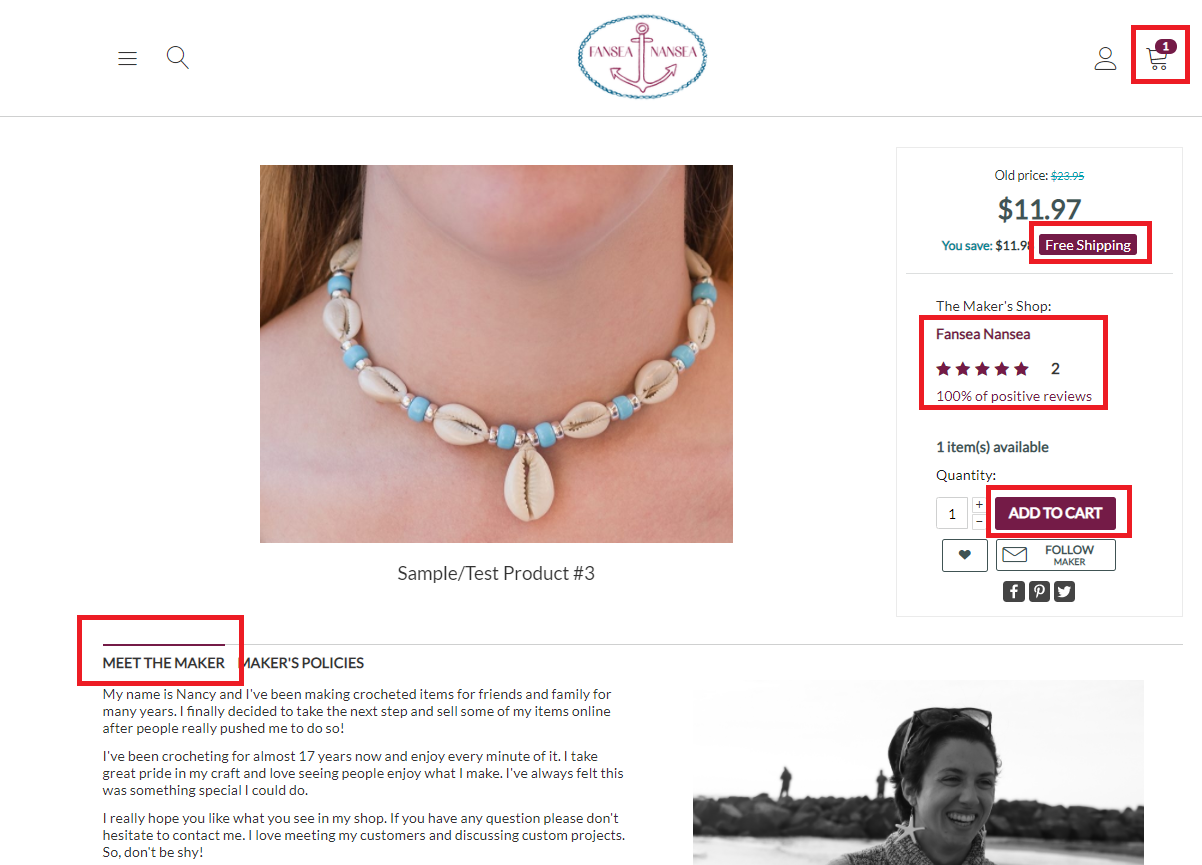
You can match the color scheme of your MOSAIC website to your own custom branding.
See how to set your MOSAIC Theme colors here: https://help.goimagine.com/articles/68444-mosaic-theme-colors
5) Know your MOSAIC Domain!
SUB-DOMAIN: Your MOSAIC website automatically comes with a free sub-domain which is your shop name followed by ".goimagine.com" (i.e. yourshopname.goimagine.com) without any spaces or special characters. For instance, if your shop name is Jack & Jill's Attic your MOSAIC domain would be jackjillsattic.goimagine.com.
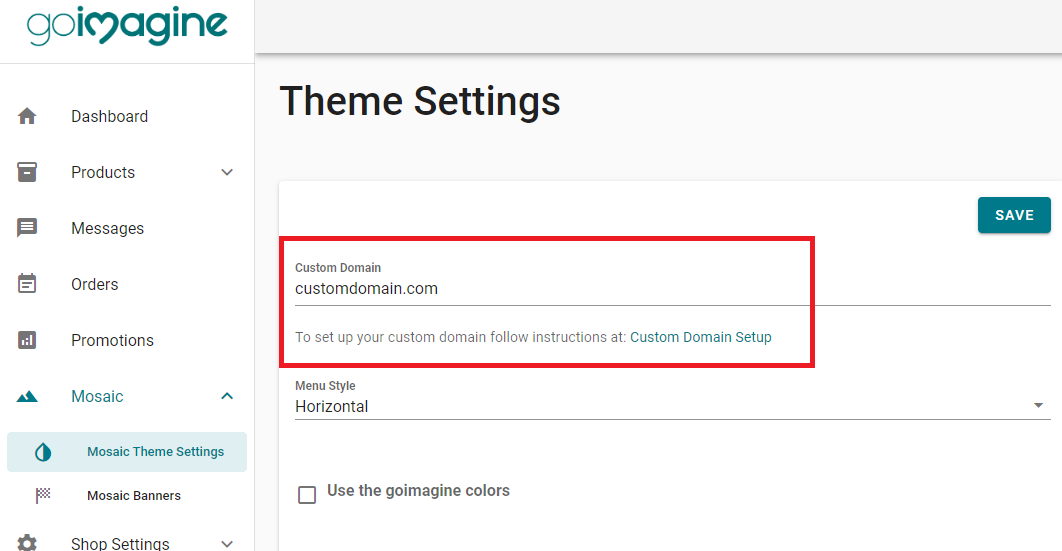
CUSTOM DOMAIN: You can further brand your MOSAIC shop with a Custom Domain. This gives you a private URL without the word goimagine in it (i.e. yourshop.com). You can purchase domains at registrars like GoDaddy and Namecheap.
Once you own a custom domain follow these steps to set it up: https://help.goimagine.com/articles/80193-setting-up-your-custom-domain
