Custom Shop Categories
Custom Shop Categories
We have created the ability for makers to create their own custom categories within their goimagine shop. This will help create a more customized experience for buyers visiting your homepage. To add custom categories do the following:
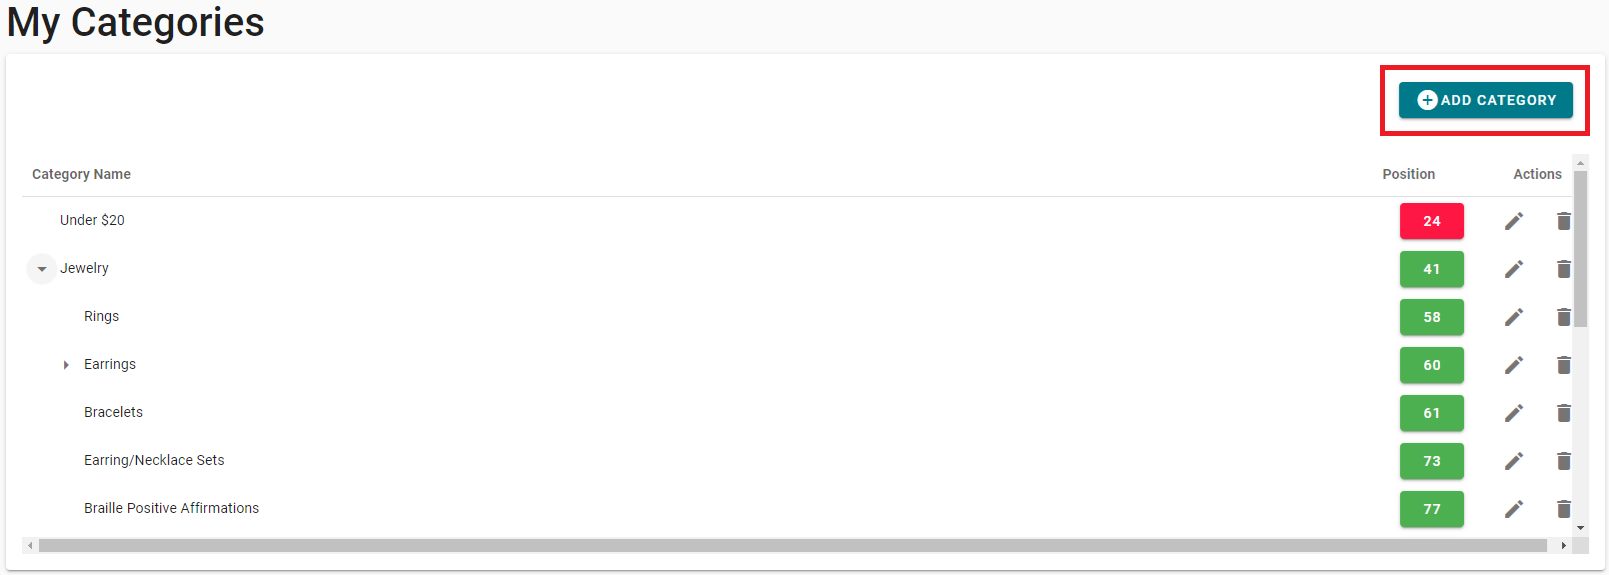
STEP ONE - Go to the "Products" drop-down menu and click "Shop Categories".
STEP TWO - Choose the + Sign to create a new category.
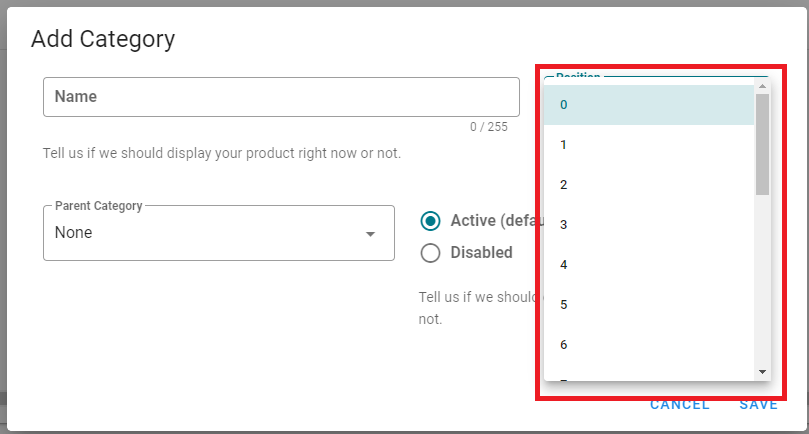
STEP THREE - Type in the CATEGORY NAME and decide if it will be a "Parent" Category (i.e. top level/primary) or if it will roll-up to a category above it.
NOTE: Setting the "Position" Number assigns in what order the category will appear.
For instance, if Category A is position "1" and Category B is position "2" the categories will be listed in that order on your webpage.