Photography Tips
While search words, SEO and great product titles can help your product be found… your photos are what draw a customer in. Think of it as your product’s first impression. Not only will good photos grab a customer’s attention, but they are more likely to complete a purchase when the images are crisp and illustrate what they are getting. Since a customer can not touch and feel an item when purchasing online, it is important to show your item in the best possible way so they can make an informed decision. Use as many photos as you need to showcase what your product is about.
A good listing will show the product in many ways:
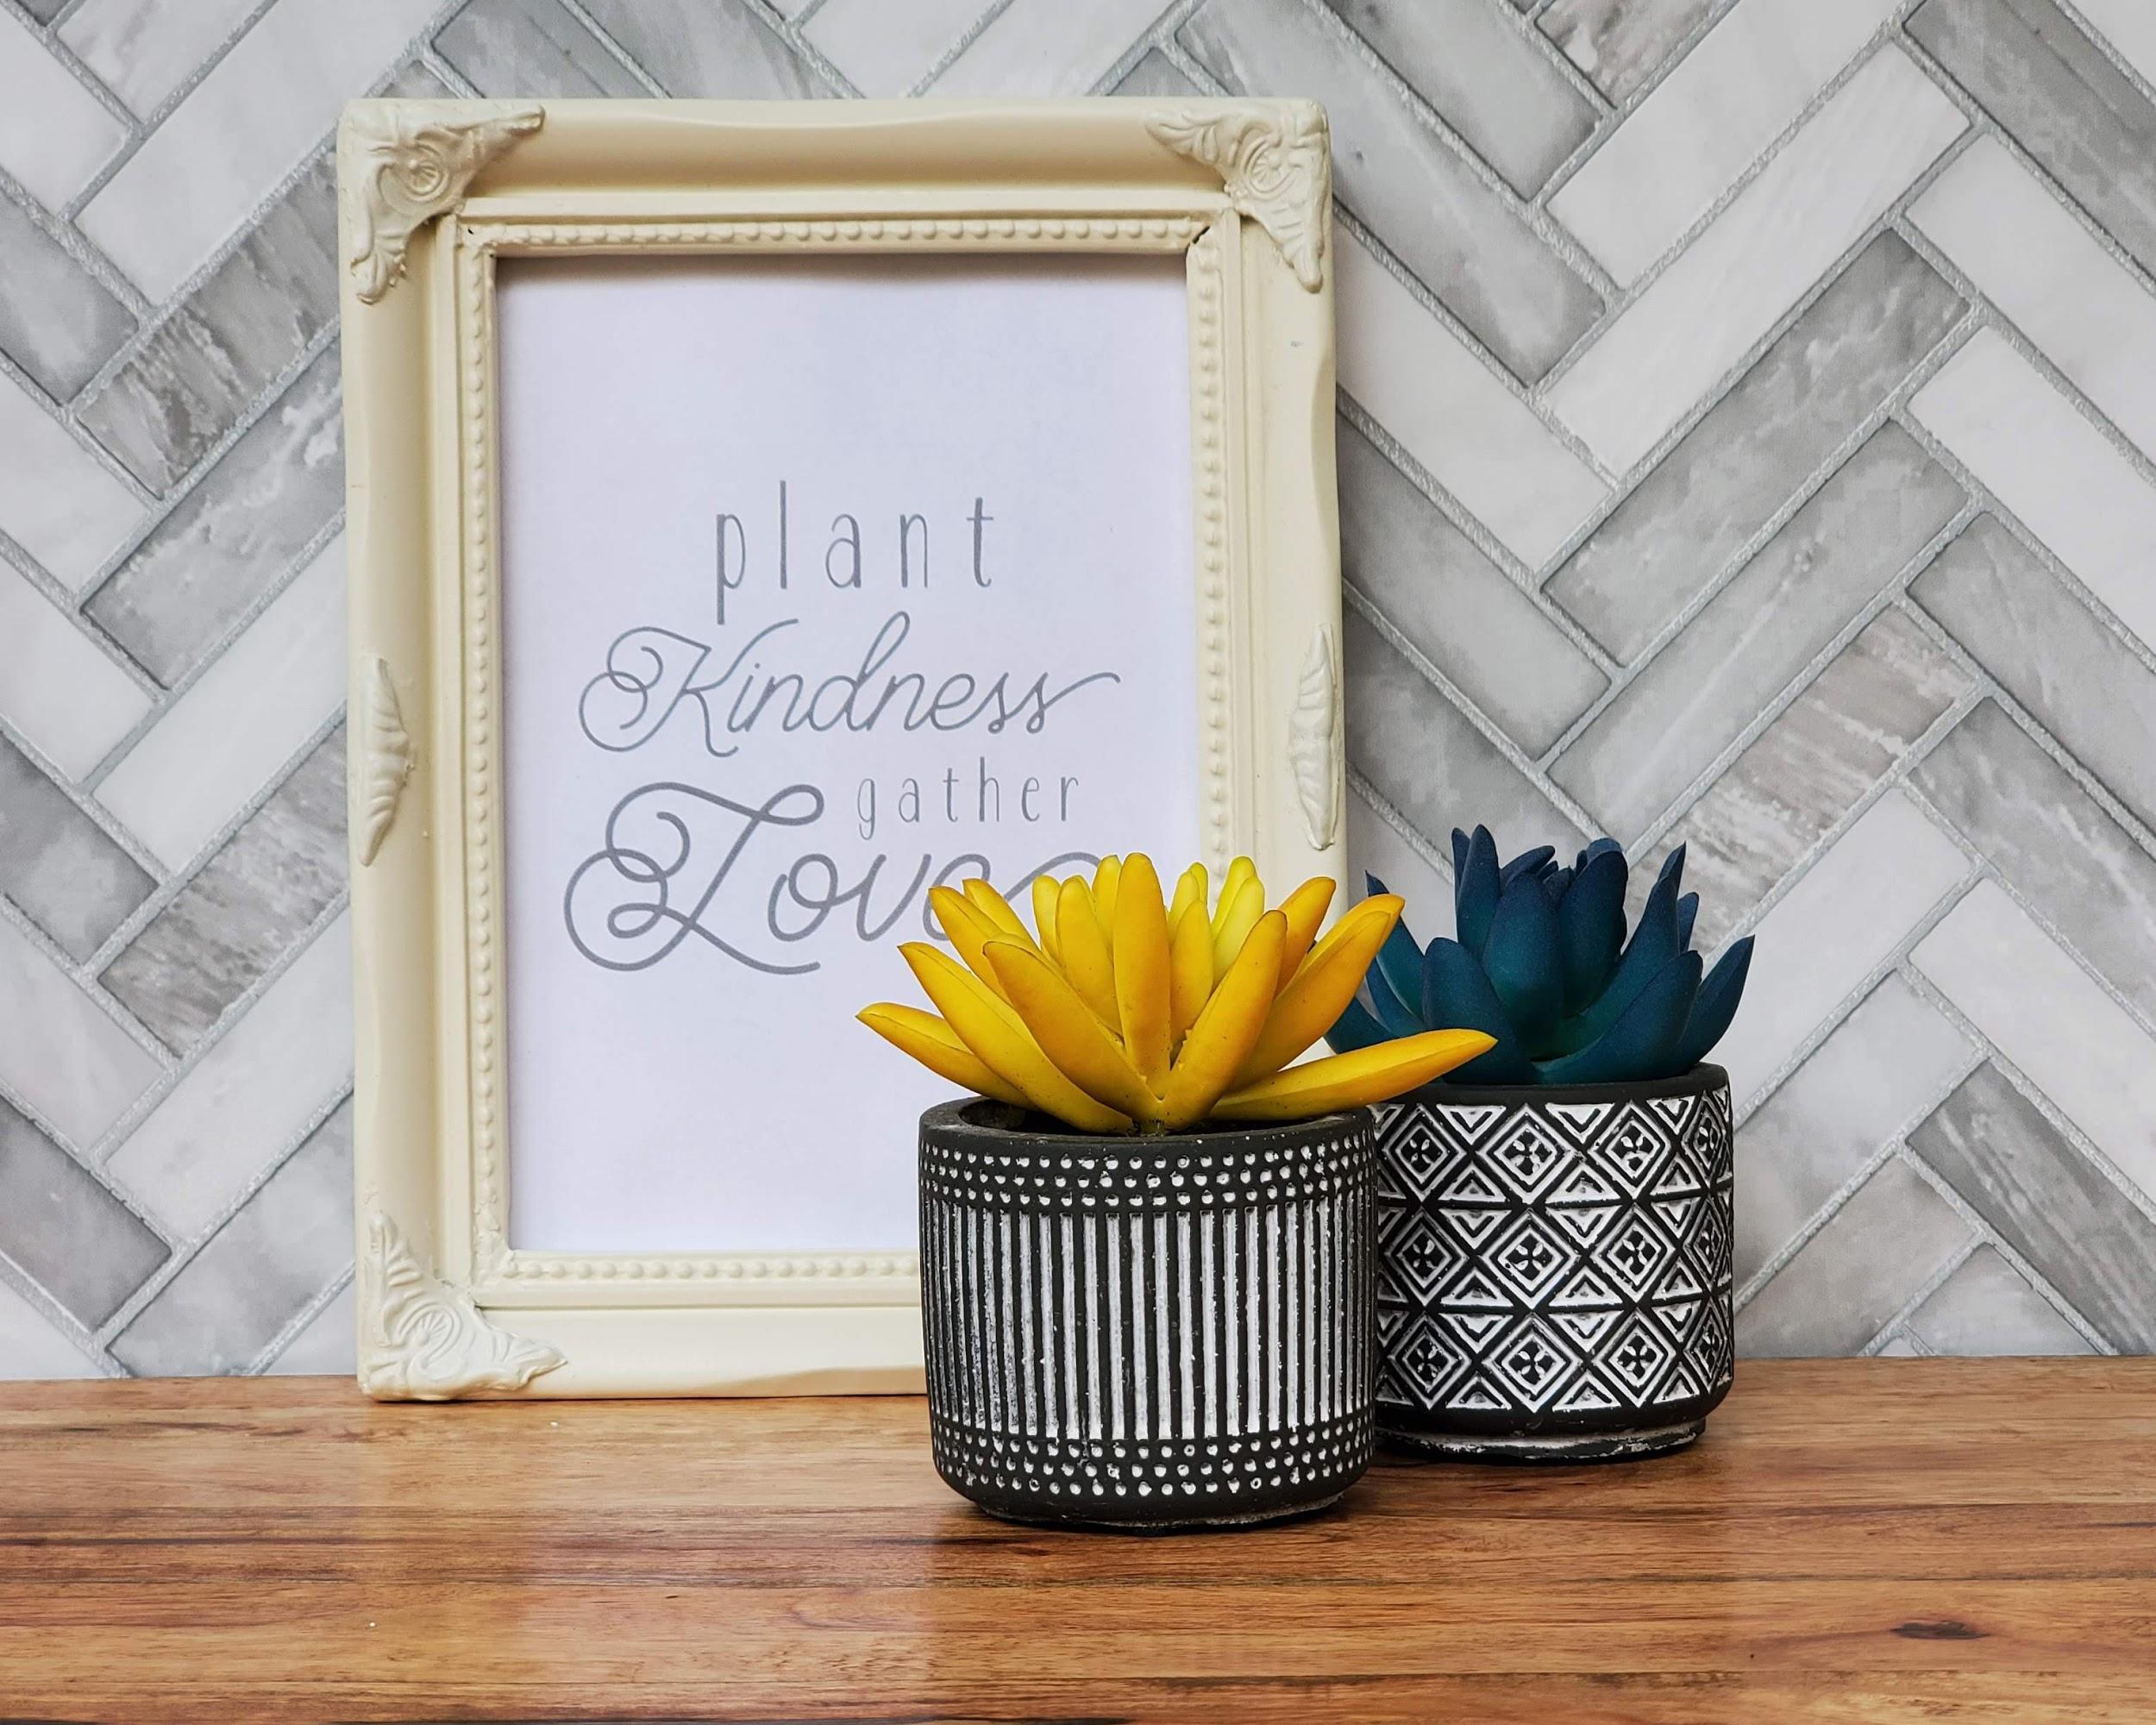
● A stylized or lifestyle shot: Create a small scene for the customer to imagine. Use props if necessary but keep in mind your product should be the main focus. If your product is wearable, consider using a model to showcase your product in use.
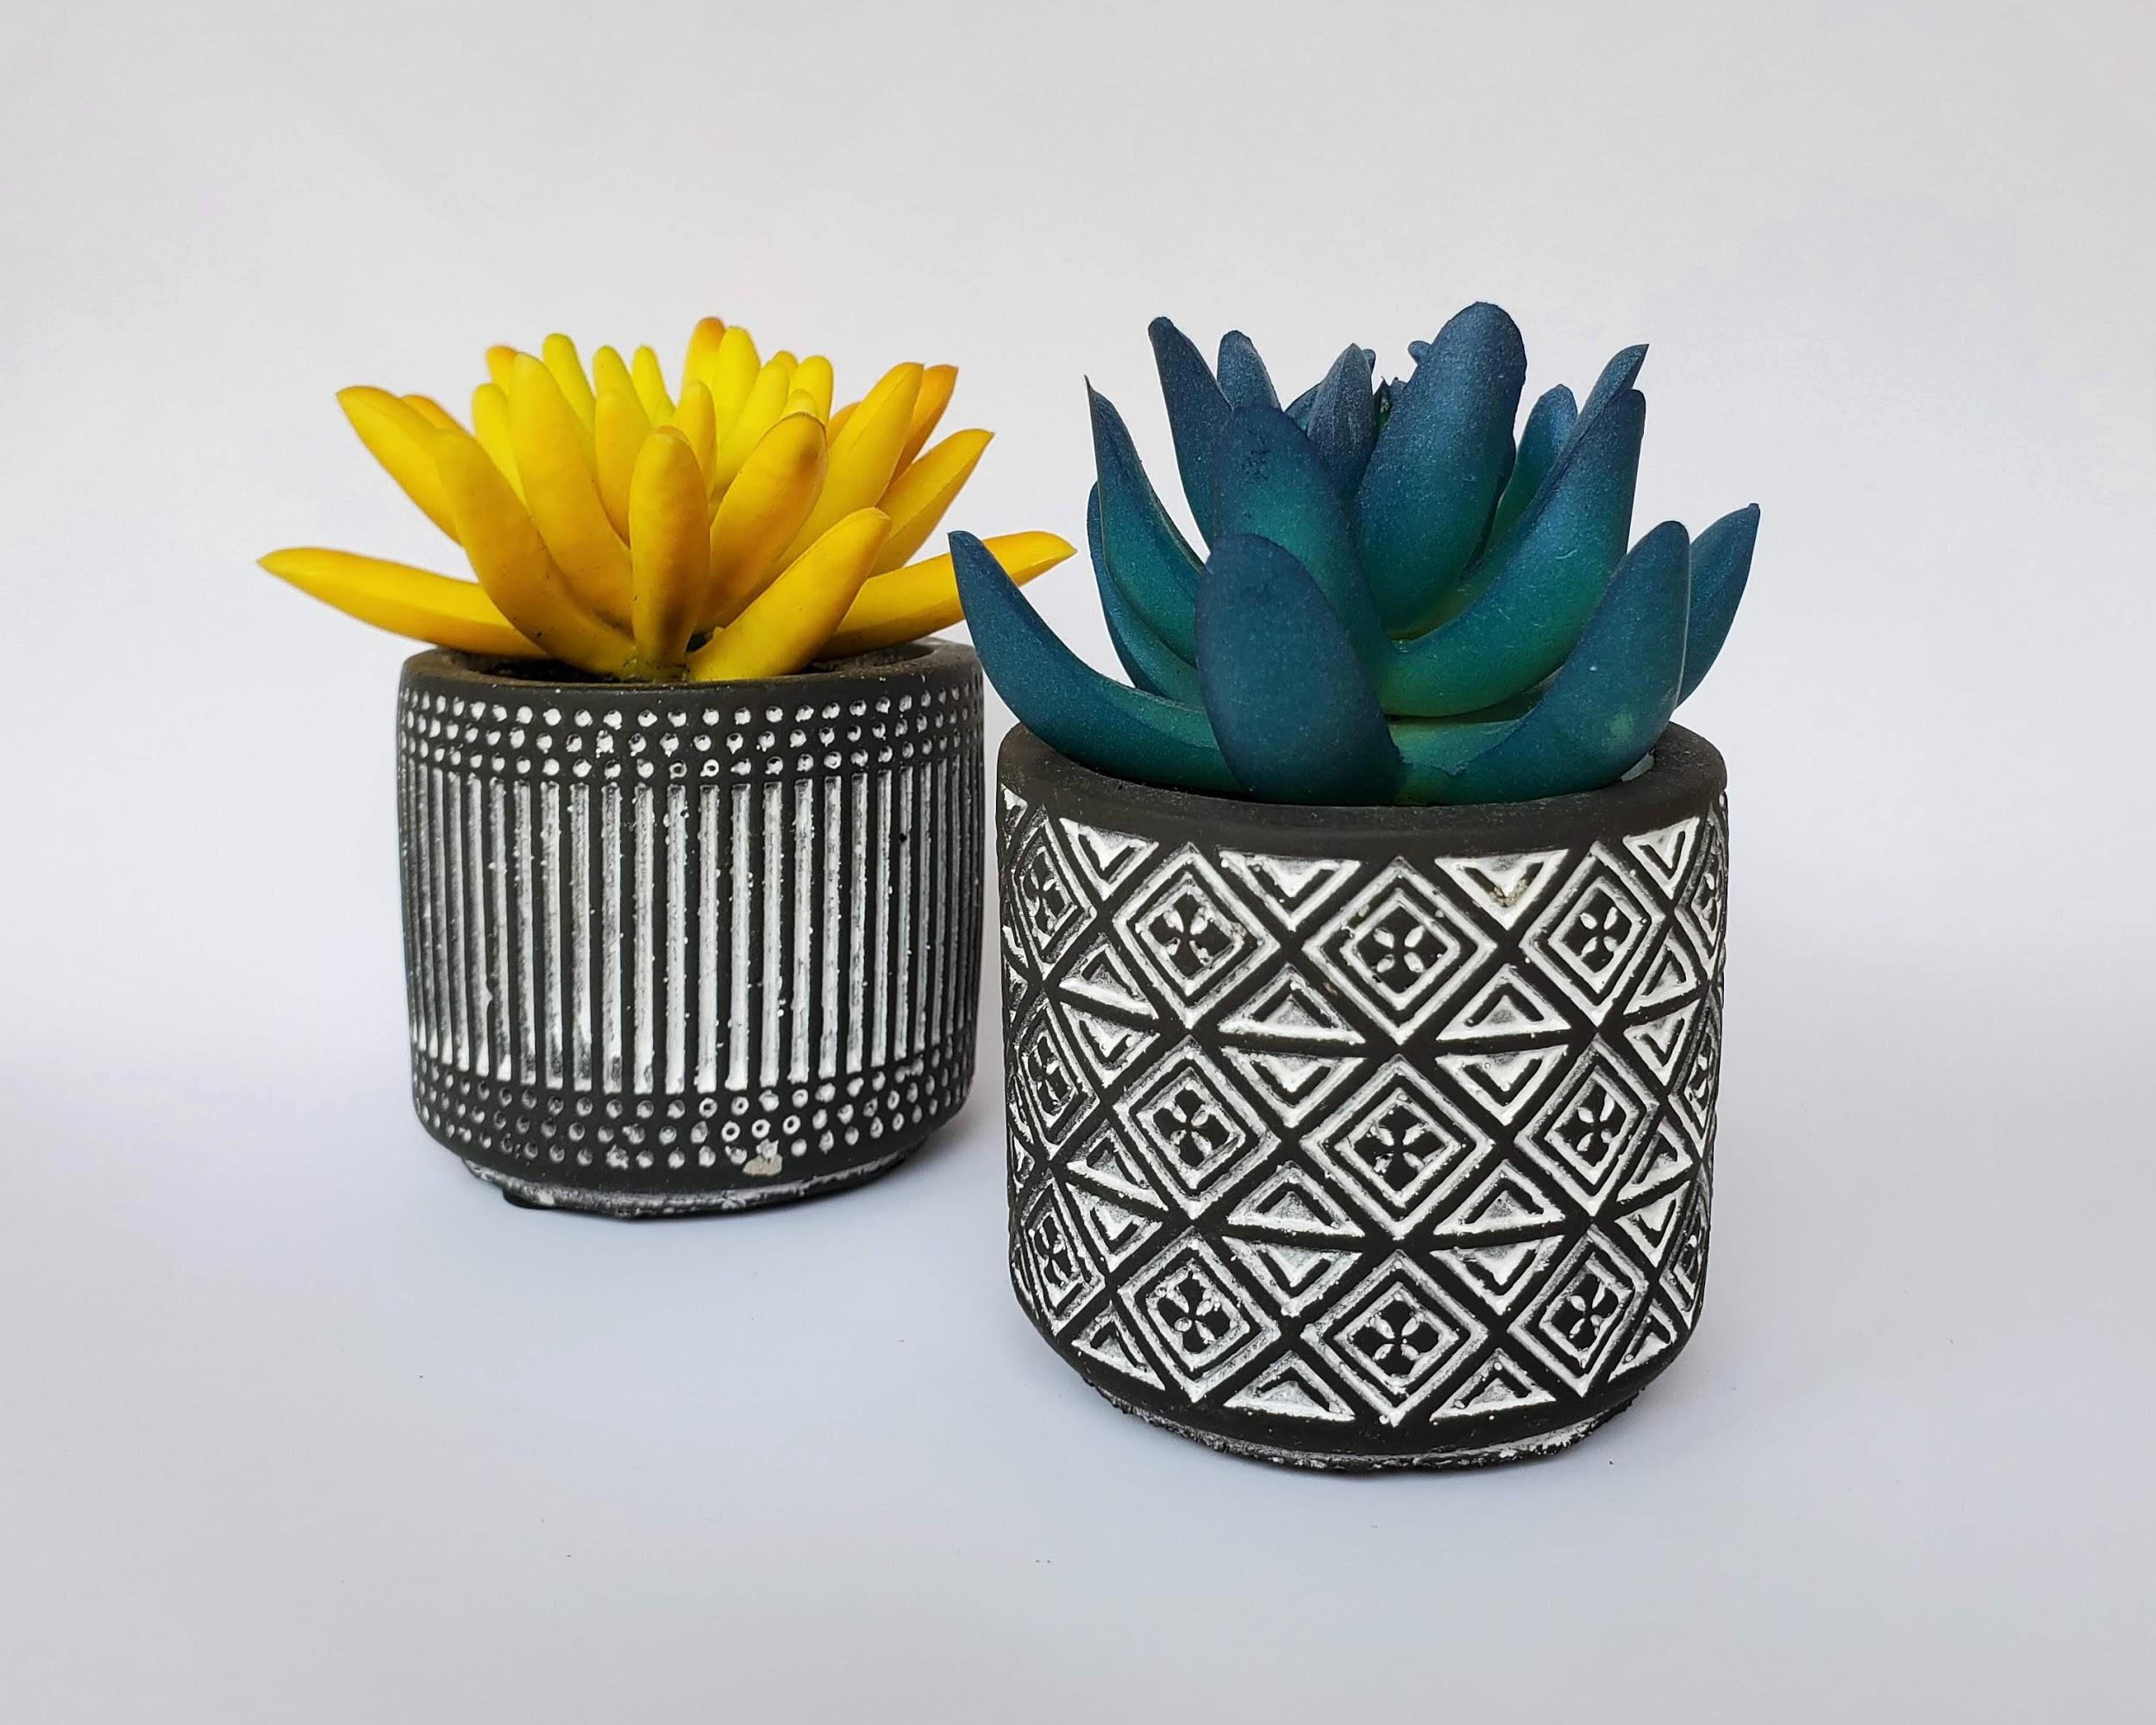
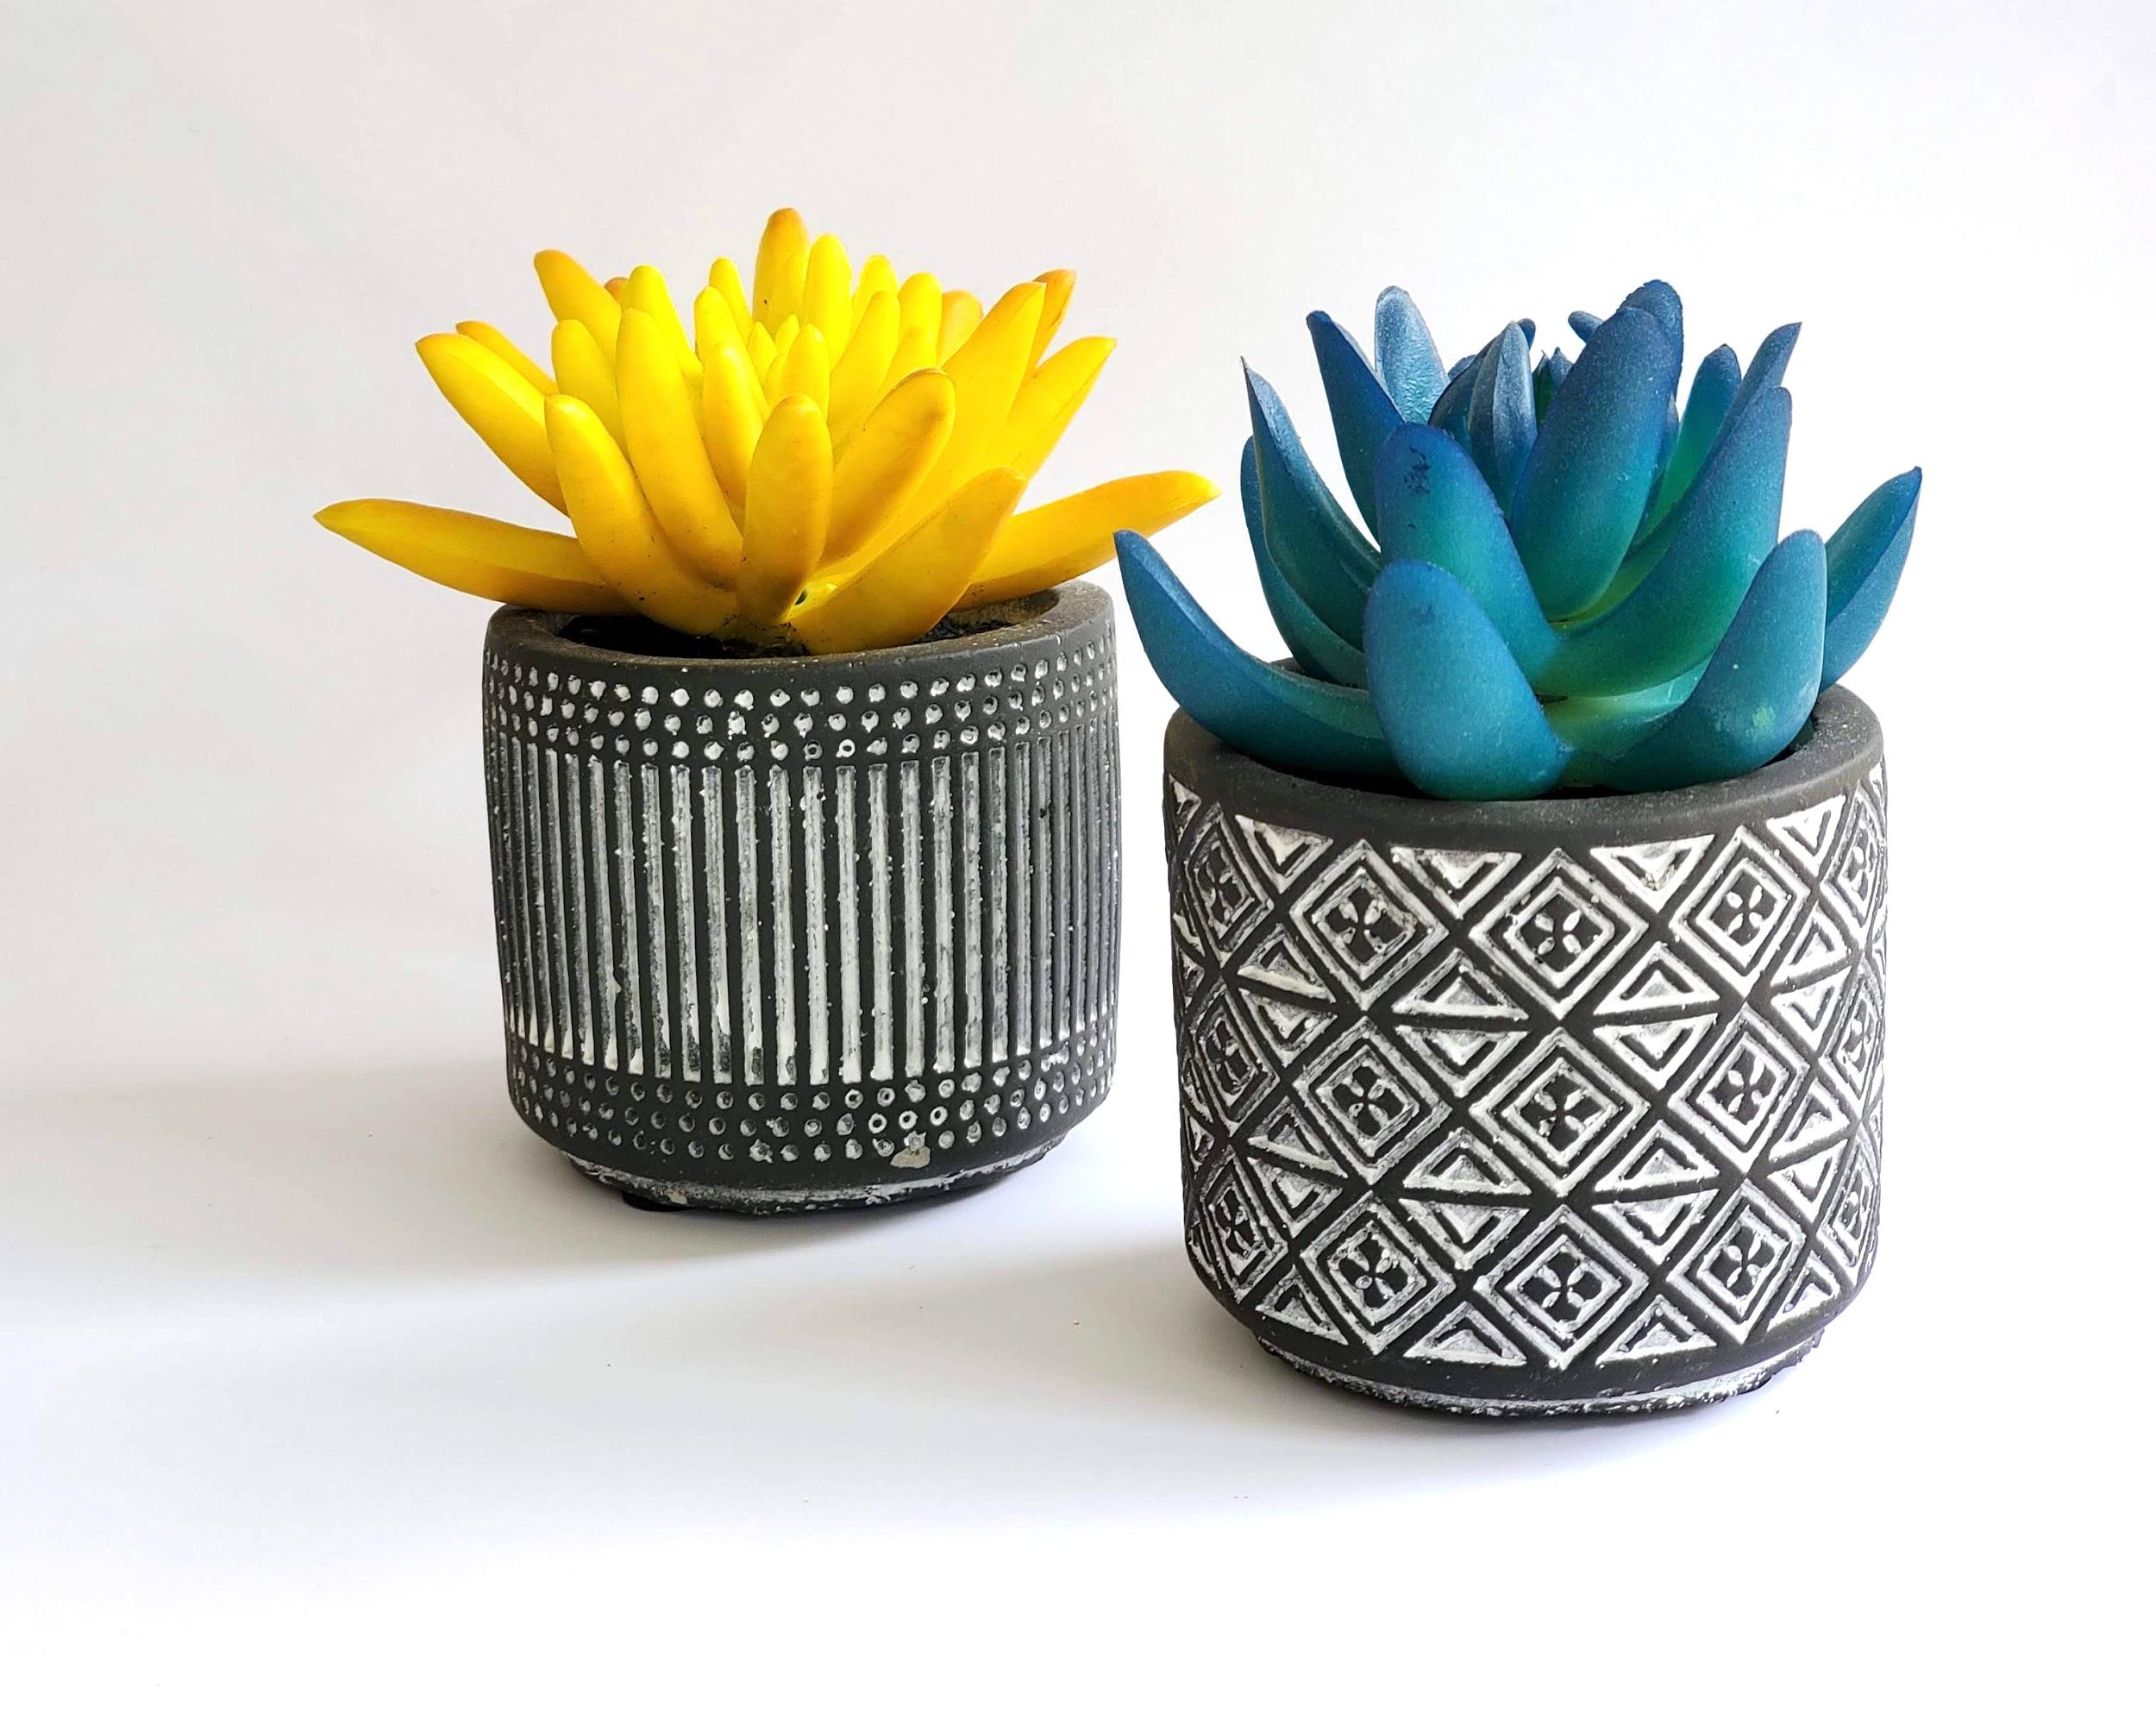
● A Clean “studio” shot: Show your product on a clean white background. This shows the customer exactly what they are purchasing without distraction. If your listing is for multiple items sold together, make sure you take photos of them as a group as well as individually.
● Detail Shots: Close up details that a customer may not see with a full product shot. These shots are perfect for highlighting details that may make your product unique or different. For example, if your product has texture, show it.
● Shots to Show Scale: It’s hard to determine exactly how small or large something is when looking at it online. While you may include this information in your product listing, it is great to show a visual as well. For example, include a ruler or common object (such as a coin) in your photo next to your product so the customer can get a sense of scale.
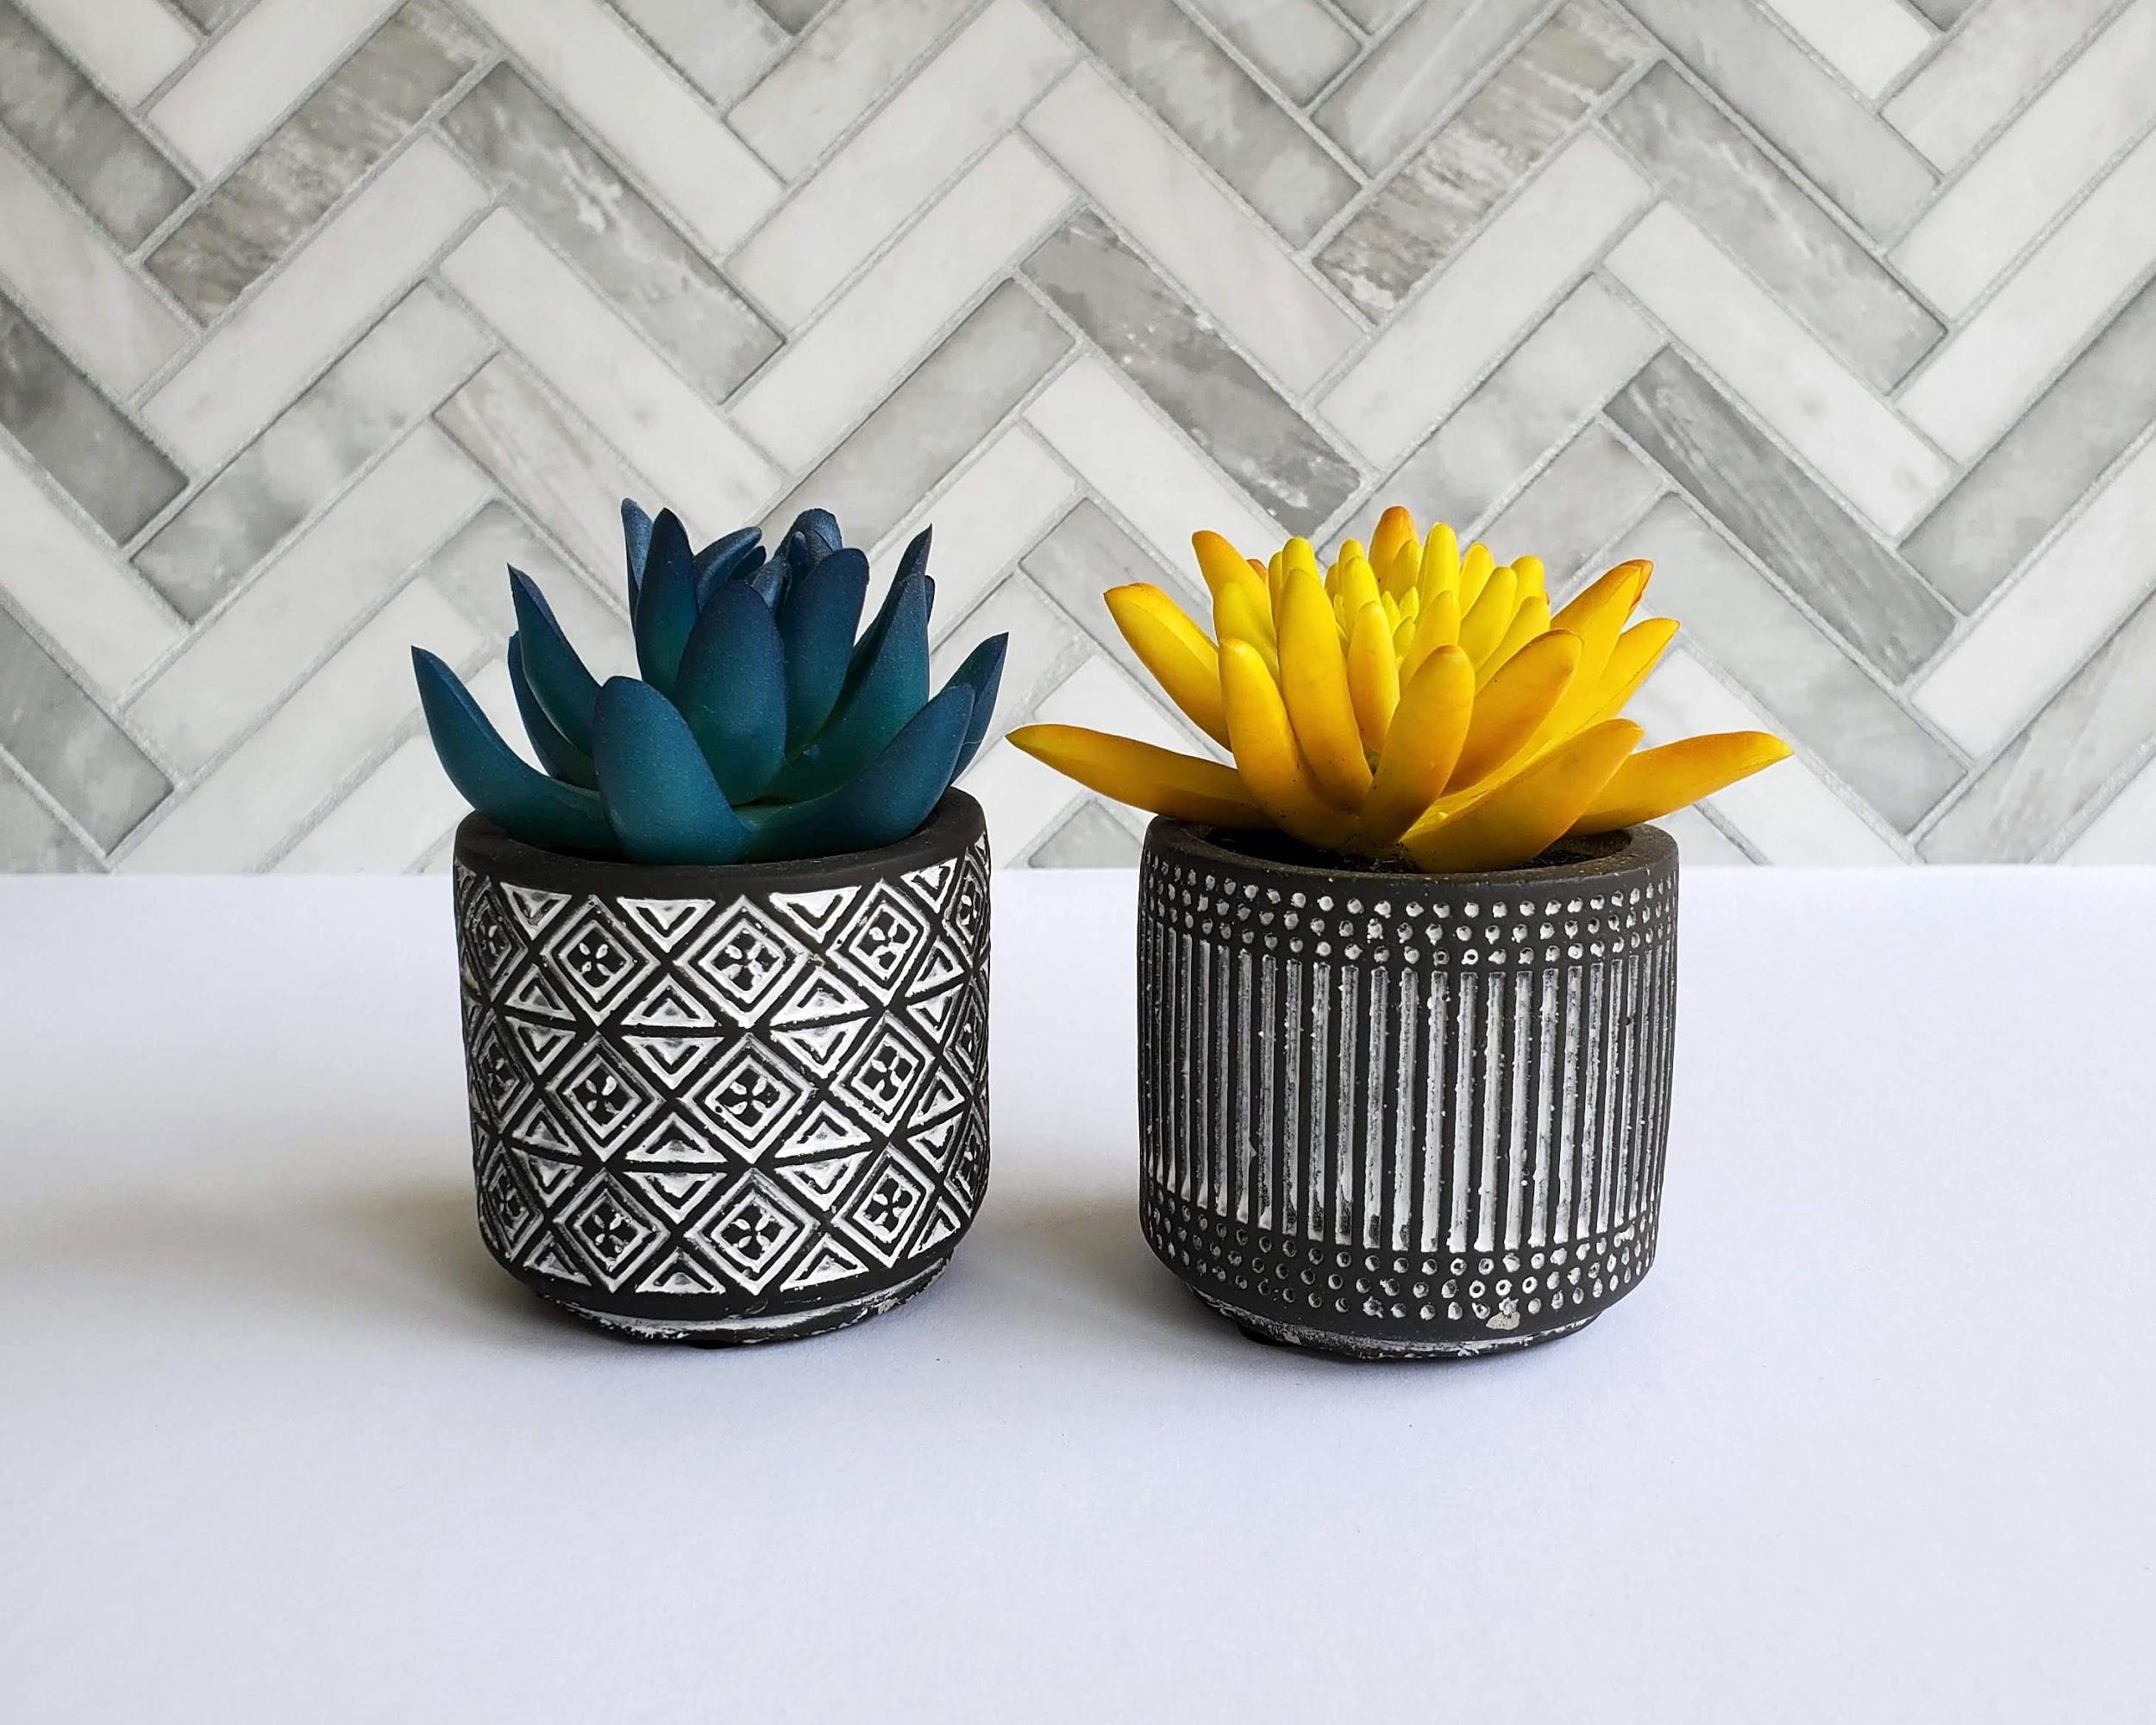
● Variants: If your product has variants, for example color or metal type, show them. It is much easier for a customer to visualize the finished piece when they have something to reference.

A few examples of shots mentioned above.
Get ready to shoot:
Product photography can be time consuming, but it doesn’t have to be. Make a list and plan to shoot multiple products as once to save time. Keep in mind that lifestyle/stylized shots should relate to your brand and should coordinate. Even if you sell multiple different products, your photos should all look cohesive, like they are all coming from the same brand.
Before you shoot, make a list of all of the product shots you want to acquire. Gather any props or backgrounds you may need and plan accordingly.
Lighting:
The single most important thing to remember is good lighting is the key to good photos. Diffused light works best in accurately showing color and details. Direct light can cause harsh shadows and distort colors.

Left image taken in direct light. Right image taken with diffused light.
Using natural light works to your advantage because you don’t need any additional equipment. Cloudy days are perfect for diffusing sunlight. If there is too much sunlight, and you’re shooting outdoors, consider finding a partially shaded area. A white vendor canopy works great for shooting outside on sunnier days. If you are shooting indoors, set up near a window that gets plenty of light. If the sun is too bright, consider diffusing it with a white curtain, or white tissue paper over the window. Make sure not to have any artificial lights on while you are photographing.
If outdoor natural light is not an option, consider investing in a lightbox or light tent. These are great options for when your only time to photograph products is at night. Keep in mind that the same basic rules still apply, as it is best to avoid direct light even if it is artificial. Avoid using a flash, as it typically washes out your photo causing it to appear flat.
Try not to mix lighting. No matter how good your lighting is… artificial light and natural will have different tones. Try to avoid taking photos of one product in both lights as it may not show color and detail as consistently through your listing.
Stylizing a Shot:
Your photos are an extension of your brand. They should speak to your target market in a way that is aesthetically pleasing. They should be consistent throughout your shop to make it visually pleasing to a potential customer. Select a handful of visual props that represent your shop's style. Use a background that is not too busy but still shows some visual interest. You don’t need to use the same exact background for every product, but they should at least coordinate so they flow nicely in your shop. Picture how your products would look in a brick & mortar store and use that as inspiration to style your shots.
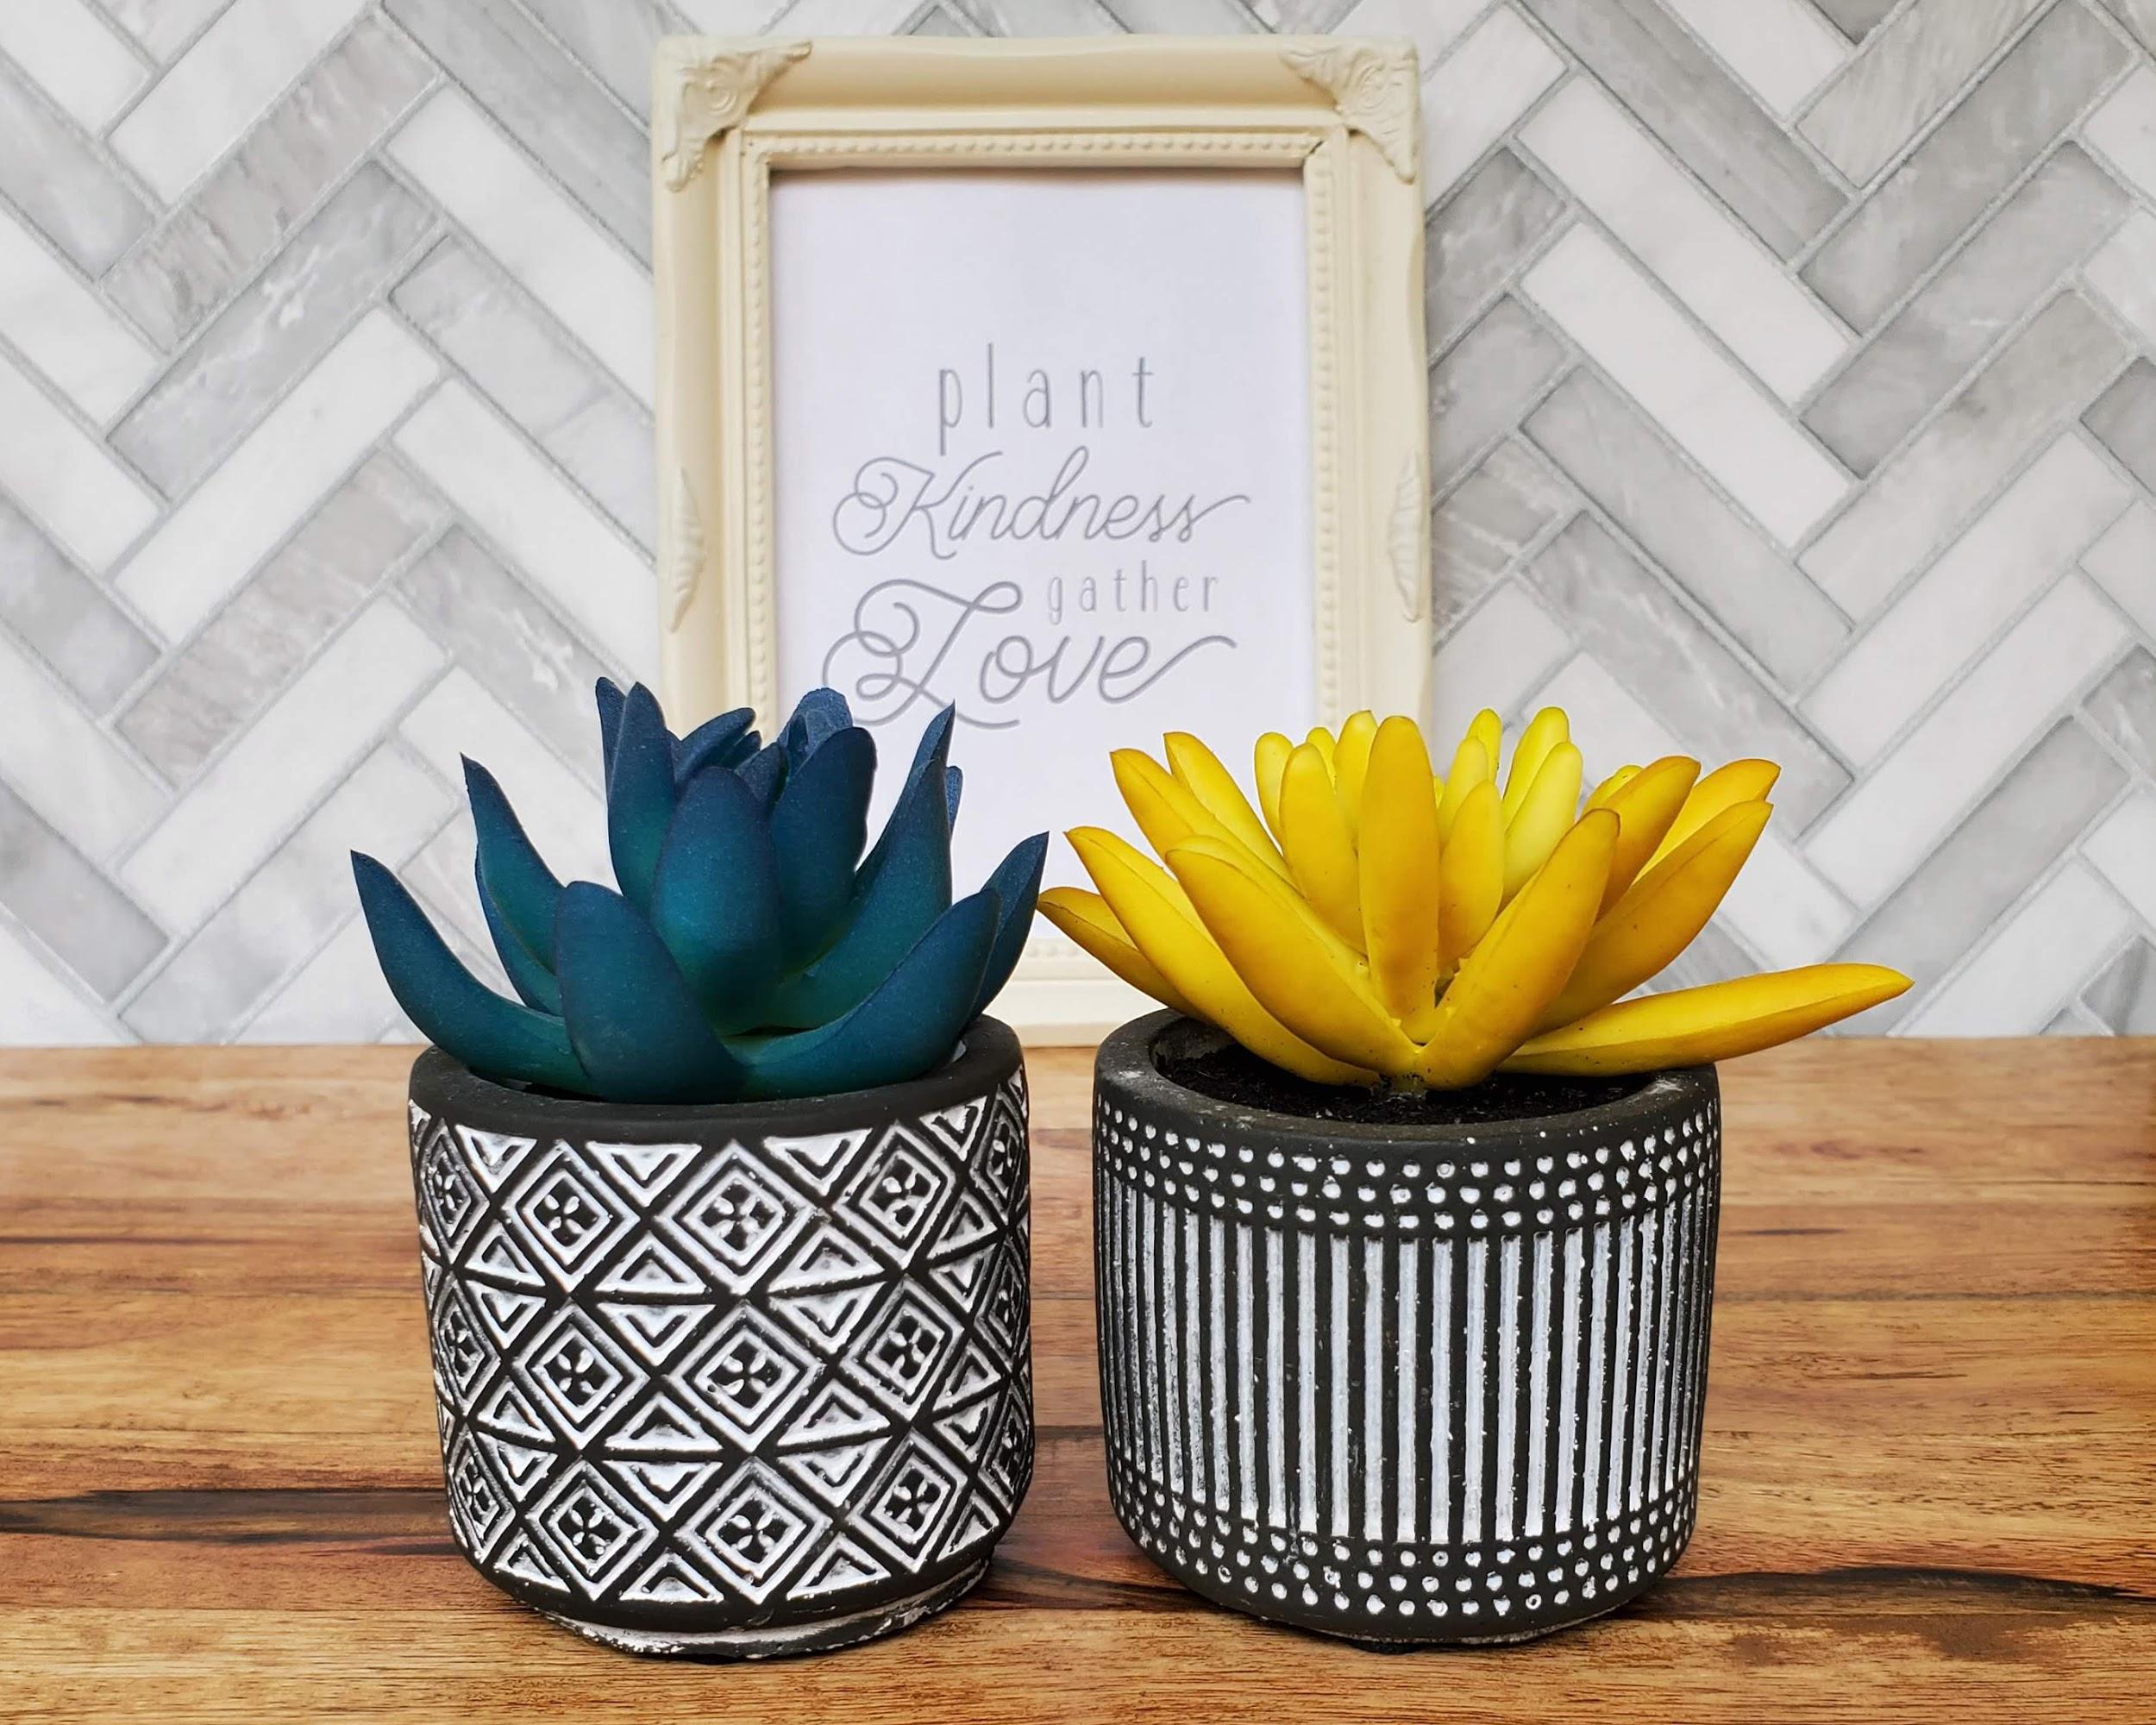
Two examples of stylized shots. Sometimes a simple background is all you need to make a shot look stylized.
Flat Lays:
A flat lay is basically a birds eye view. It’s taken straight down directly above the products. These are great for clothing or wearable items such as necklaces, hats etc as well as stationery products such as invitations, cards and more. They can be styled in the same way as above, but with a few things to keep in mind.
● Choose a simplified background. While a background should never be overly busy, it's particularly important with a flat lay not to distract from your product since it is lying directly on the background.
● It is very easy to go overboard with props in a flat lay and they can become distracting very quickly. Make sure your product stays the focal point. In most instances, 1-2 props is all you need.